If you are self-hosting n8n with npm, the setup usually feels simple until the community license step fails, npm installs the wrong version, or the local instance cannot connect to the activation service. This guide walks through the clean npm self-hosting flow and shows what to check when the n8n community license activation screen returns a connection failed style error.
This article focuses on local npm self-hosting. If you are also extending your self-hosted instance with browser automation nodes, read the previous guide on installing Puppeteer in n8n with a community node.
What This Setup Covers
- Installing Node.js so npm is available on your computer.
- Checking Node.js and npm versions before installing n8n.
- Installing n8n globally with npm.
- Starting n8n locally at localhost:5678.
- Creating the owner account for the local instance.
- Requesting and activating the free registered community edition license key.
- Troubleshooting activation errors, including connection failed issues.
NPM Self-Hosting vs Docker Self-Hosting
n8n supports multiple self-hosting paths. Docker is usually the better choice for production servers because it isolates the app and is easier to reproduce across cloud environments. The npm method is best for a local machine, quick testing, development, or learning how n8n works before deploying a more durable server setup.
Important: npm self-hosting is convenient, but it still makes you responsible for updates, backups, system configuration, and anything needed to keep the instance running.
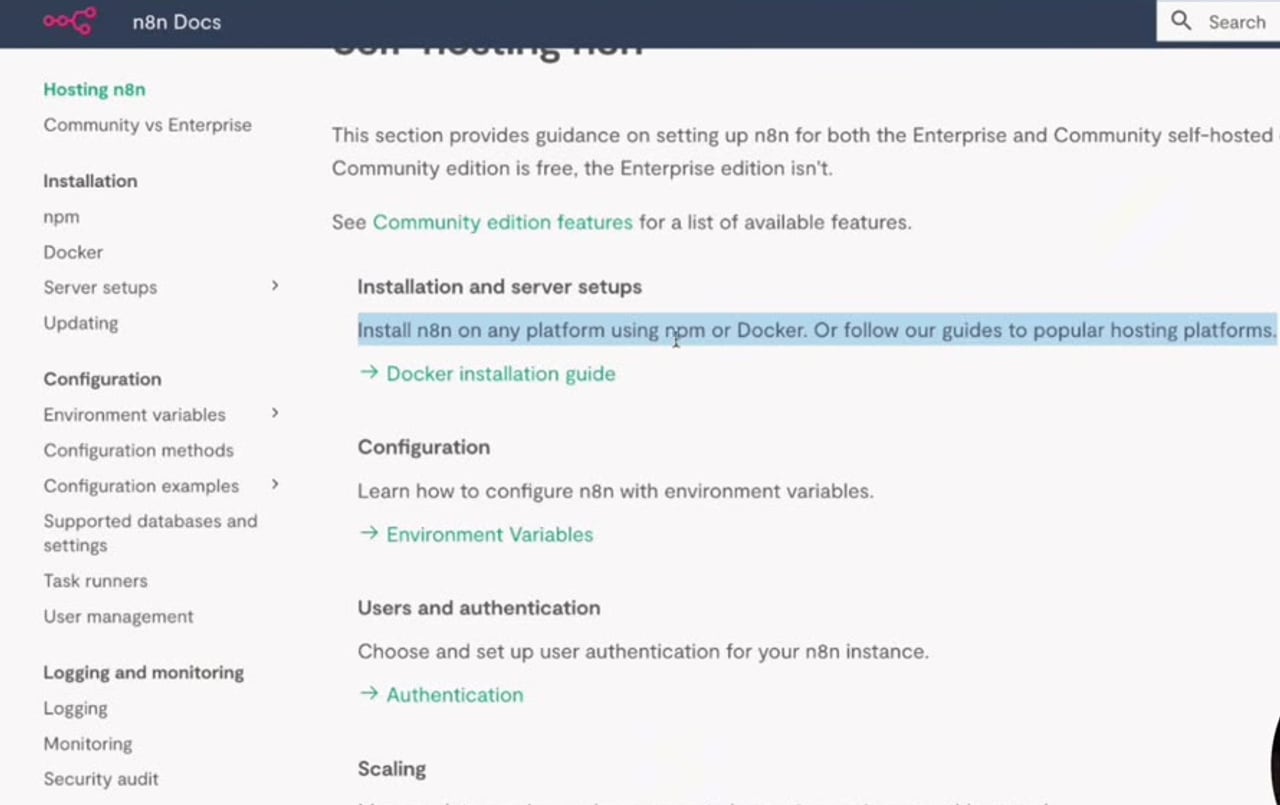
Step 1: Open the n8n npm Self-Hosting Documentation
Start from the official n8n npm installation documentation. The current docs say n8n requires a supported Node.js version before you install n8n with npm. This matters because npm comes with Node.js, and n8n will not run properly if your Node.js version is outside the supported range.
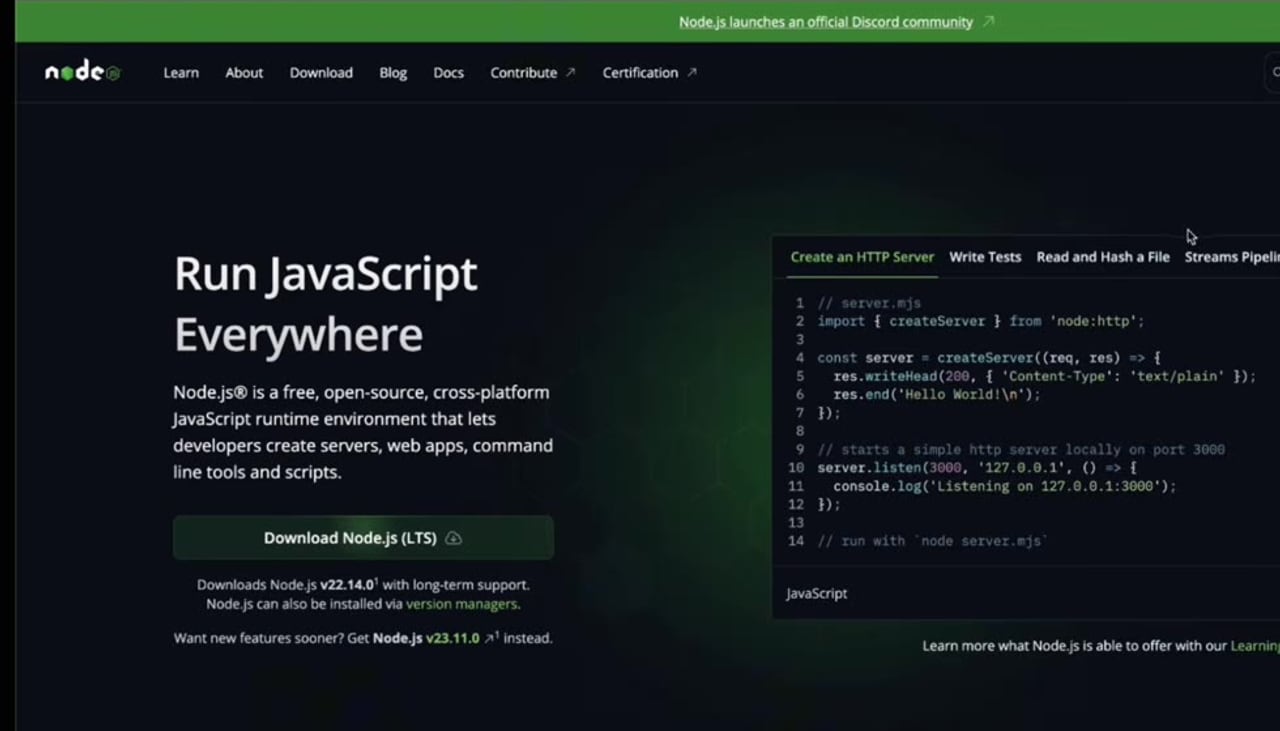
Step 2: Install Node.js
Download Node.js from the official Node.js website and complete the installer for your operating system. On macOS, this normally downloads a package installer. On Windows, use the Windows installer and leave npm selected during installation.
After installation, open Terminal on macOS or Command Prompt/PowerShell on Windows.
Step 3: Confirm Node.js and npm Are Installed
Run these two commands to confirm that both Node.js and npm are available from the terminal:
node -v
npm -v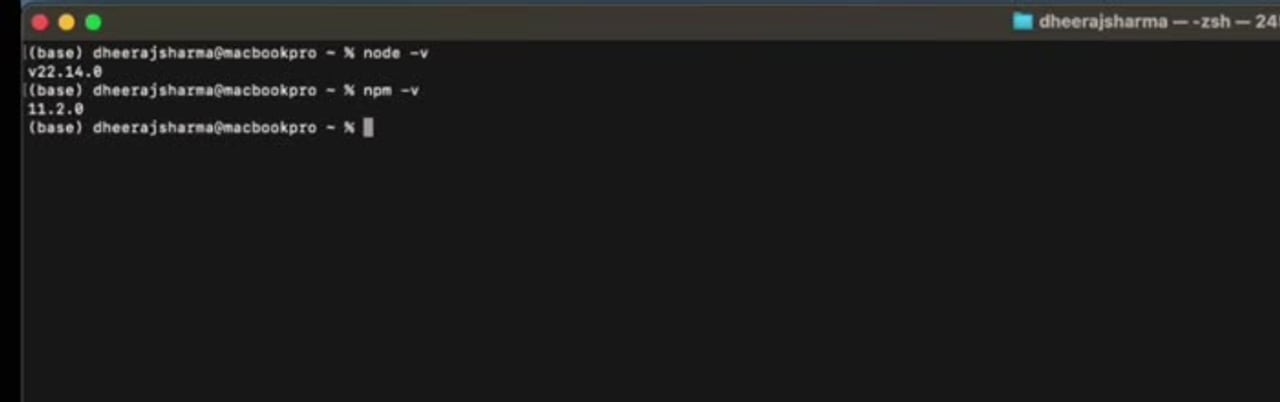
If either command is not recognized, close and reopen the terminal. If it still fails, reinstall Node.js and confirm that npm is included in the installation.
Step 4: Install n8n Globally with npm
Once Node.js and npm are working, install n8n globally. The global install makes the n8n command available from your terminal.
npm install n8n -g
On macOS or Linux, if the command fails with a permission error, you may need to fix npm permissions or use a Node version manager. Avoid blindly adding sudo unless you understand the impact on your local npm setup.
Step 5: Start n8n Locally
After the installation finishes, start n8n from the terminal:
n8n
# or
n8n start
The local n8n editor should open at http://localhost:5678. If the browser does not open automatically, copy that address into your browser manually.
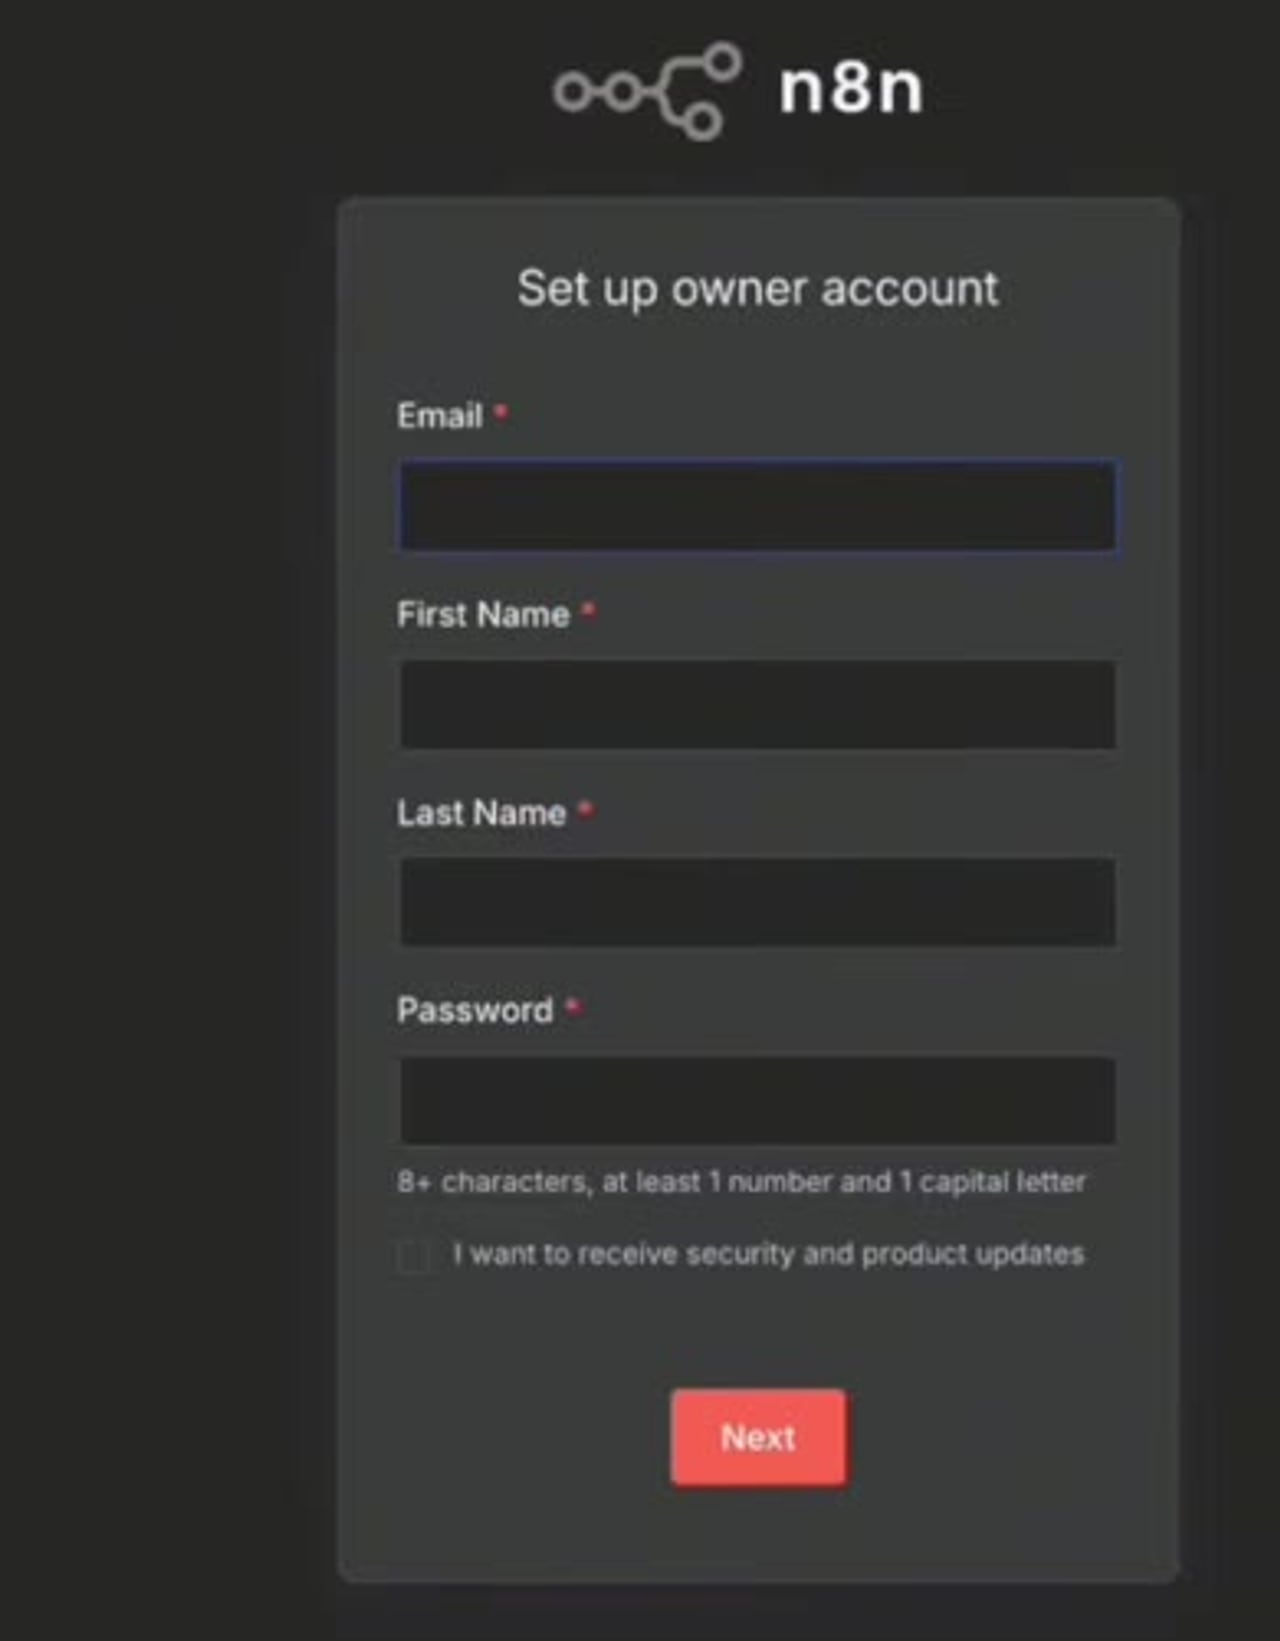
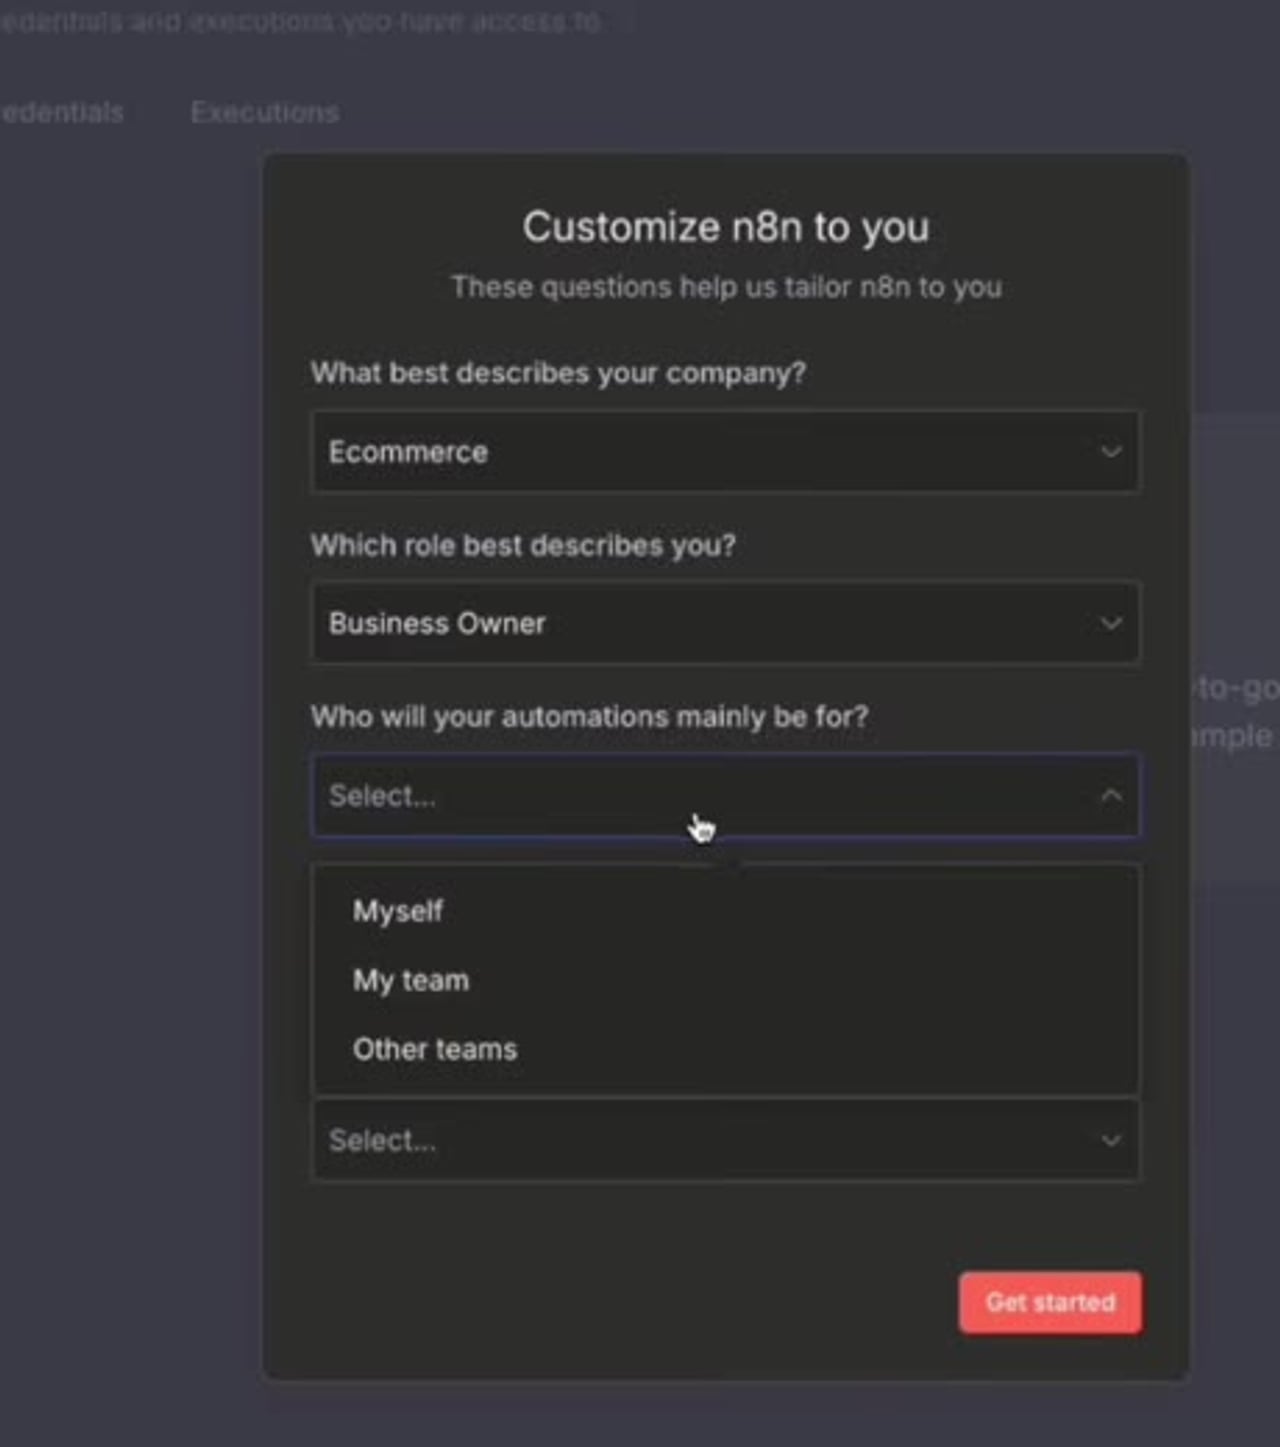
Step 6: Create the Owner Account
The first launch asks you to create an owner account. This account controls the local n8n instance, so use an email address you can access and a strong password.
Step 7: Request the Free Community License Key
After the owner account is created, n8n may ask a few setup questions and then offer to send a free license key. This registers your community edition instance and unlocks selected community features for the instance.
According to n8n documentation, registering the community edition can unlock features such as folders, debug in editor, and custom execution data. The available unlocked features may change over time, so always treat the n8n documentation as the source of truth.
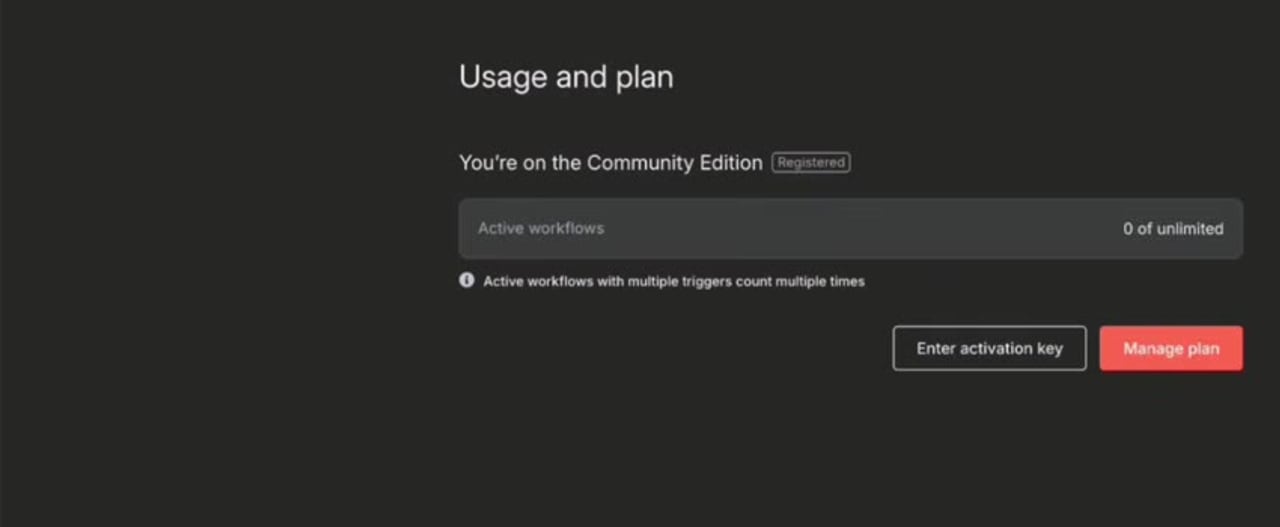
Step 8: Activate the Community License Key
Check the email account you used during setup. Copy the license key from the email, then return to n8n and go to Settings > Usage and plan. Click Enter activation key, paste the key, and activate it.
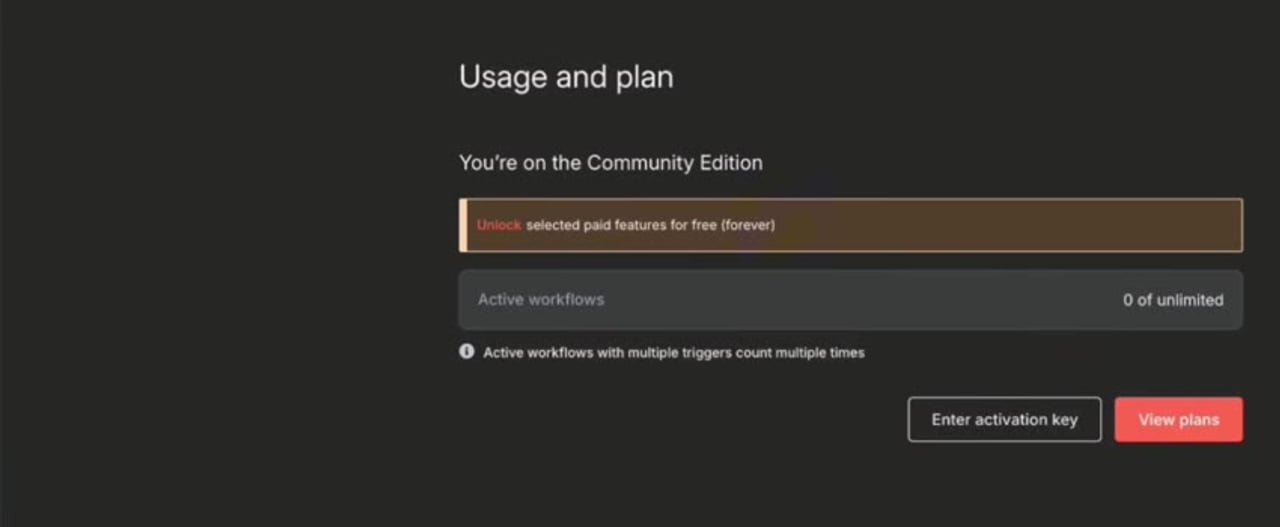
When activation succeeds, the Usage and plan page shows that the community edition is registered.
How to Fix n8n Community License Activation Connection Failed
If the activation step fails with a connection failed message, the issue is usually not the license key itself. It is commonly network access, DNS, proxy, firewall, server time, or an outdated local n8n install.
- Confirm internet access from the same machine or server: the n8n instance must be able to reach the license activation service over HTTPS.
- Check firewall and proxy rules: if your company network blocks unknown outbound HTTPS requests, test from another network or ask the network administrator to allow n8n license activation traffic.
- Allow Cloudflare ranges when needed: n8n documentation says the license server is hosted behind Cloudflare, so fixed IP allowlisting is not reliable. Allow the Cloudflare IP ranges if your environment requires allowlisting.
- Check your system date and time: incorrect local time can break TLS connections and cause activation requests to fail.
- Update n8n: if you are using an old npm-installed version, update to the latest stable release and restart n8n.
- Try environment-variable activation: for servers, you can set the license key with
N8N_LICENSE_ACTIVATION_KEYinstead of pasting it into the UI.
N8N_LICENSE_ACTIVATION_KEY=your-license-key-hereIf you use an environment variable, restart n8n after setting it. Do not commit license keys into public repositories or paste them into screenshots, support tickets, or shared documents.
How to Update n8n Installed with npm
The npm documentation also shows how to update n8n or install a specific version. Updating is useful when you hit bugs, activation issues, or version-related compatibility problems.
npm update -g n8n

# Install a specific version
npm install -g n8n@VERSION

# Install the next/beta line
npm install -g n8n@next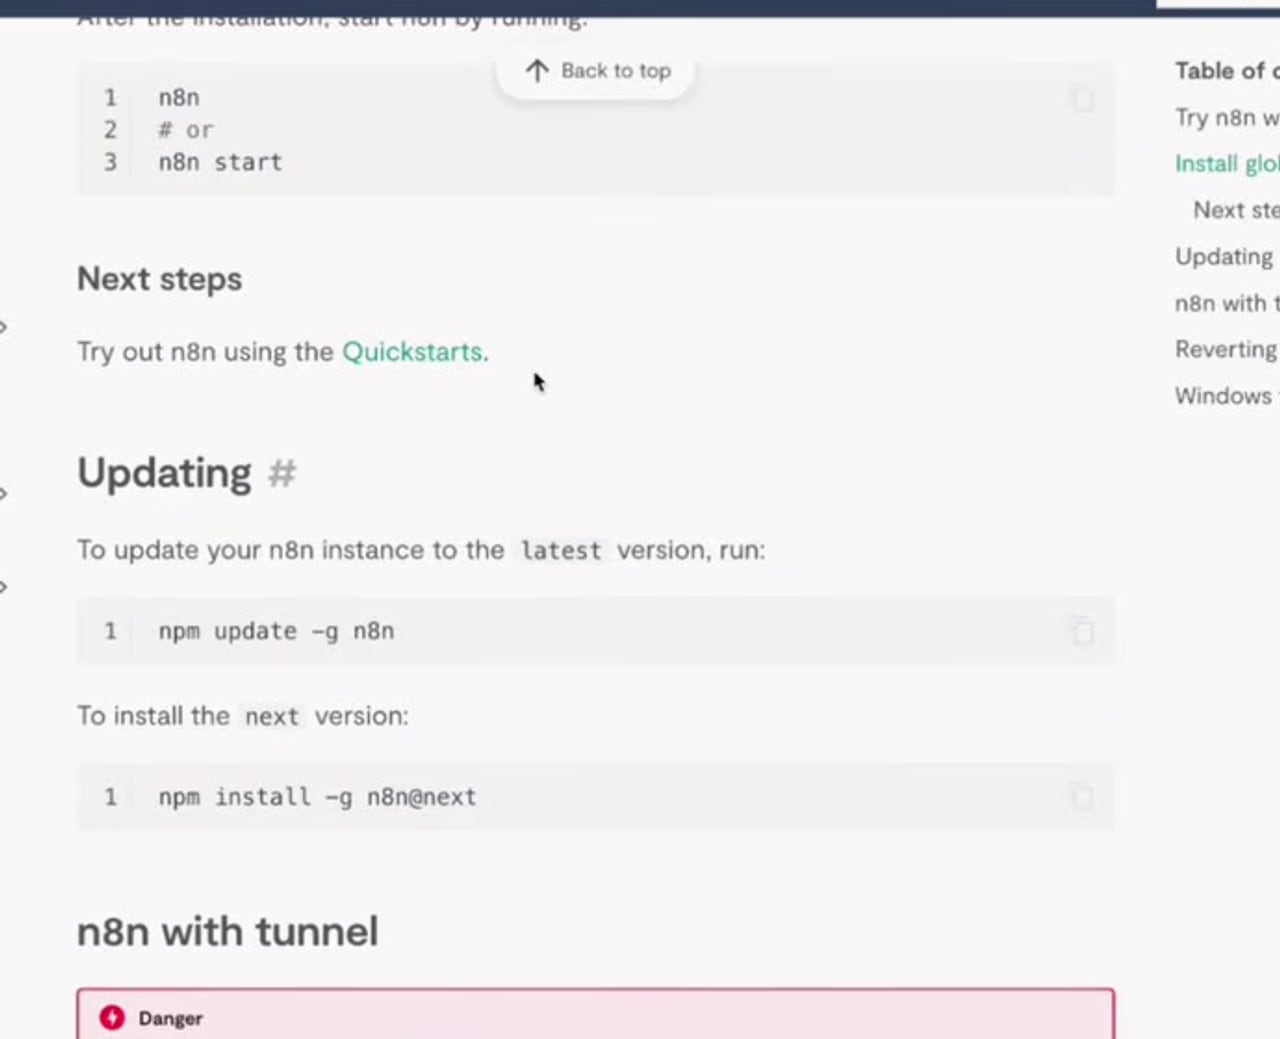
Production caution: do not jump versions blindly on a production instance. Check release notes, back up your data, and test updates before applying them to business-critical workflows.
Quick Troubleshooting Checklist
- If
node -vfails, reinstall Node.js or fix your terminal PATH. - If
npm -vfails, reinstall Node.js with npm included. - If
npm install n8n -gfails, check npm permissions and Node.js version compatibility. - If
n8n startworks but the browser does not open, visit http://localhost:5678 manually. - If license activation fails, check outbound HTTPS access, proxy rules, DNS, system time, and Cloudflare allowlisting.
- If the local instance is for production, consider moving from npm to Docker or a managed server deployment.
Final Thoughts
Installing n8n with npm is one of the fastest ways to get a self-hosted local instance running. It is especially useful for learning, testing workflows, and experimenting before you commit to a production deployment. The key is to separate the installation steps from the activation steps: first get Node.js, npm, and n8n running locally, then register the community edition and troubleshoot network-related activation errors only if they appear.
References
Official references used for accuracy: n8n npm installation documentation, n8n community edition features, and n8n license key activation documentation.

Olaitan Oladipo holds a BSc in Sociology from Olabisi Onabanjo University. He is a self-taught automation builder who has spent years inside n8n doing the work that most tutorials skip: debugging OAuth errors at 2am, migrating client automations from Make.com mid-project, fighting reverse proxy misconfigurations on AWS EC2, and figuring out through trial and error what actually holds up in production versus what only looks clean in a demo.
He is not a developer by training and not a SaaS founder. He is the person in the Discord server who actually answers the question instead of linking to the docs.
His writing on n8n Automation Tutorial covers self-hosting, AI agent workflows, tool comparisons, and the security vulnerabilities the automation industry would rather not discuss. He has built AI-assisted invoice approval flows using OpenAI function calling, connected Claude via HTTP Request nodes, and holds considered opinions about Zapier, Make.com, LangChain, and CrewAI that their marketing teams would not appreciate.
He writes for people who are technical enough to follow a tutorial but experienced enough to want the honest version.