

This guide walks through deploying n8n on a lightweight Kubernetes cluster using k3s. The video uses Kubernetes YAML manifests from a repository, then explains how to access n8n through a Kubernetes NodePort service.
Helm chart note: The walkthrough shown here is not a literal
helm installcommand. It uses raw Kubernetes manifests. If you later package the same Deployment, Service, PostgreSQL, and volume resources into an n8n Helm chart, the same k3s concepts still apply. For the previous guide in this series, read n8n vs Google Opal: 5 Key Differences Between a No-Code AI App Builder and a Production Automation Platform.
What You Will Deploy
- An n8n Deployment running inside a k3s Kubernetes cluster.
- A PostgreSQL database Service used by n8n.
- A Kubernetes namespace named n8n.
- A NodePort Service that exposes n8n from outside the cluster.
- A browser-accessible n8n setup page where you create the owner account.
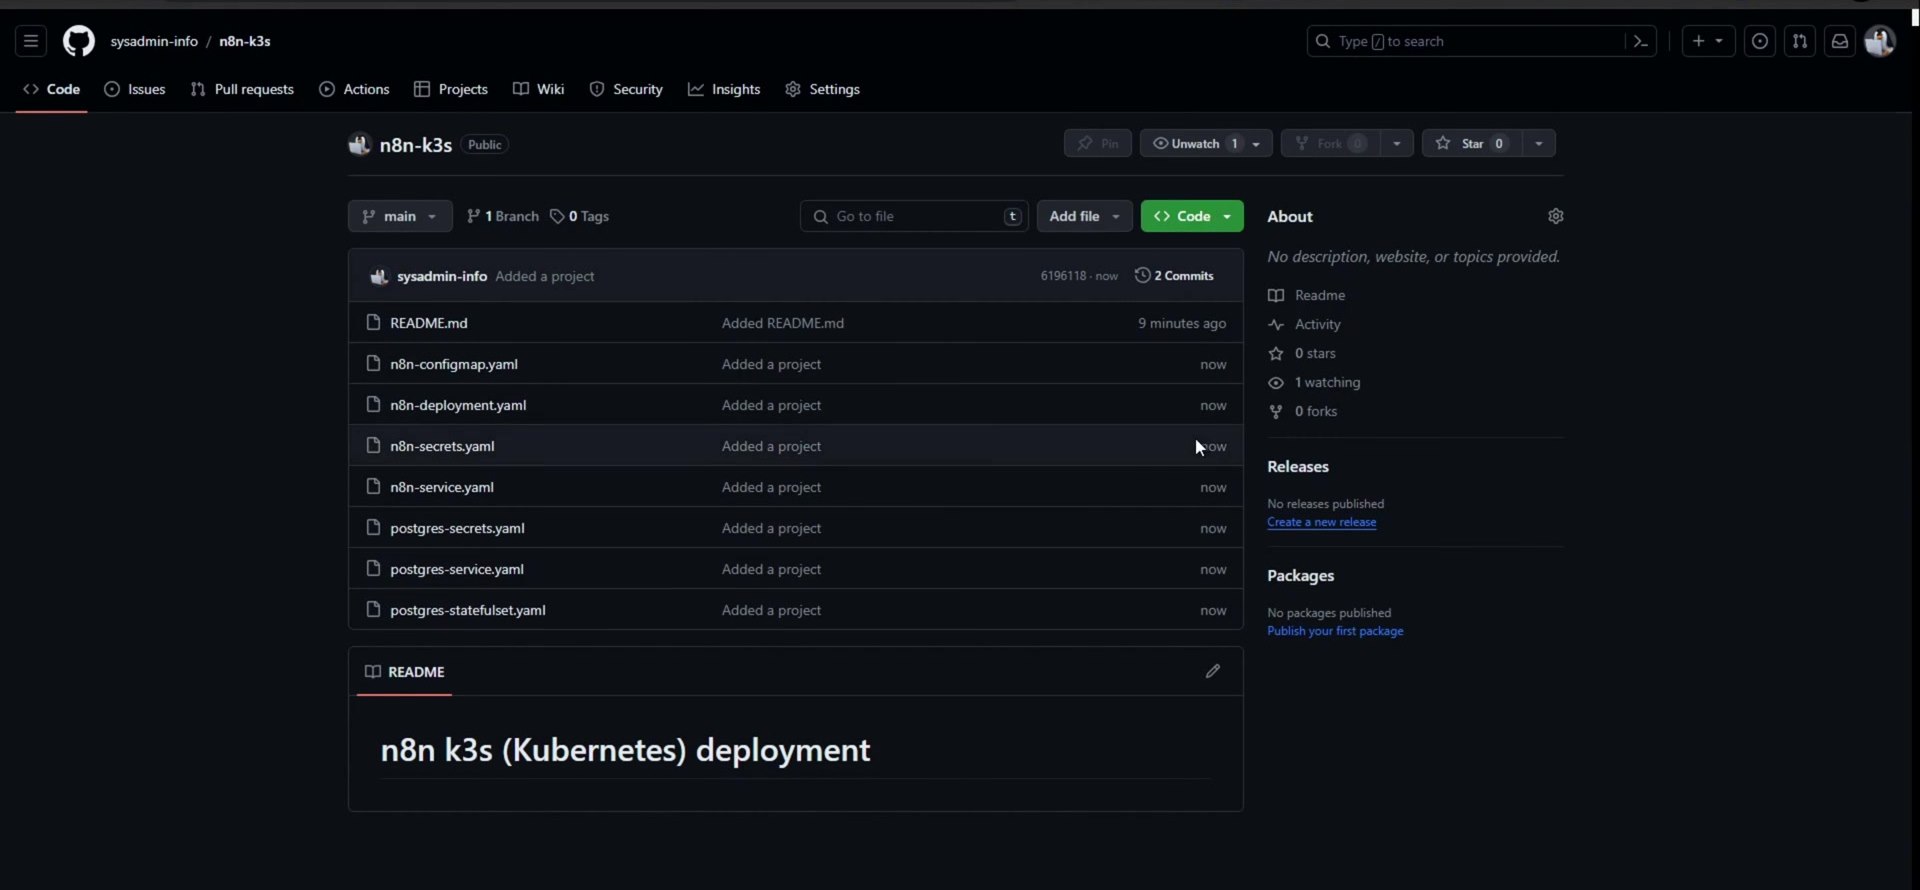
Step 1: Clone the n8n k3s Repository
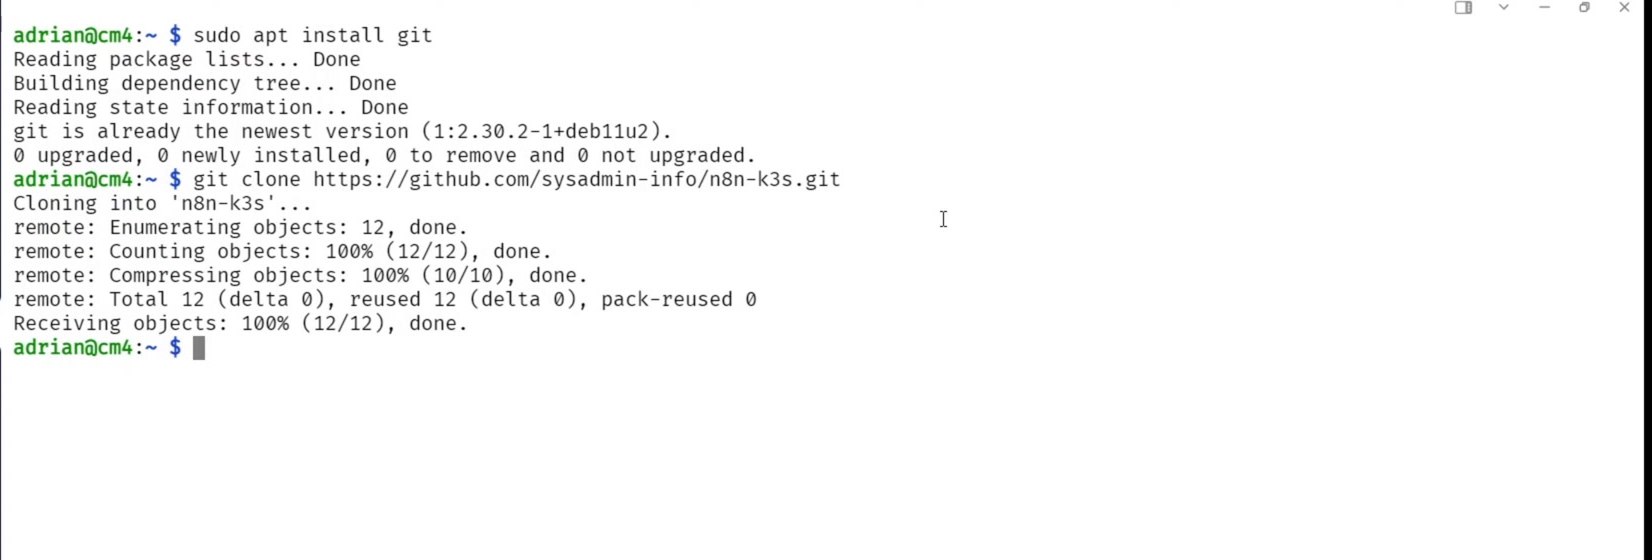
Start from the repository used in the tutorial. Copy the repository URL, move to your terminal, and make sure Git is installed on the k3s machine or management host where you run kubectl.

sudo apt install git
git clone https://github.com/sysadmin-info/n8n-k3s.git
cd n8n-k3s
ls -lh
The folder contains the Kubernetes YAML files for n8n, PostgreSQL, Services, persistent volumes, and related resources.
Step 2: Apply the Manifests
From inside the cloned folder, apply the manifests with kubectl. Kubernetes can create resources from YAML files with kubectl apply -f. In this case, the dot means apply the files from the current directory.
kubectl apply -f .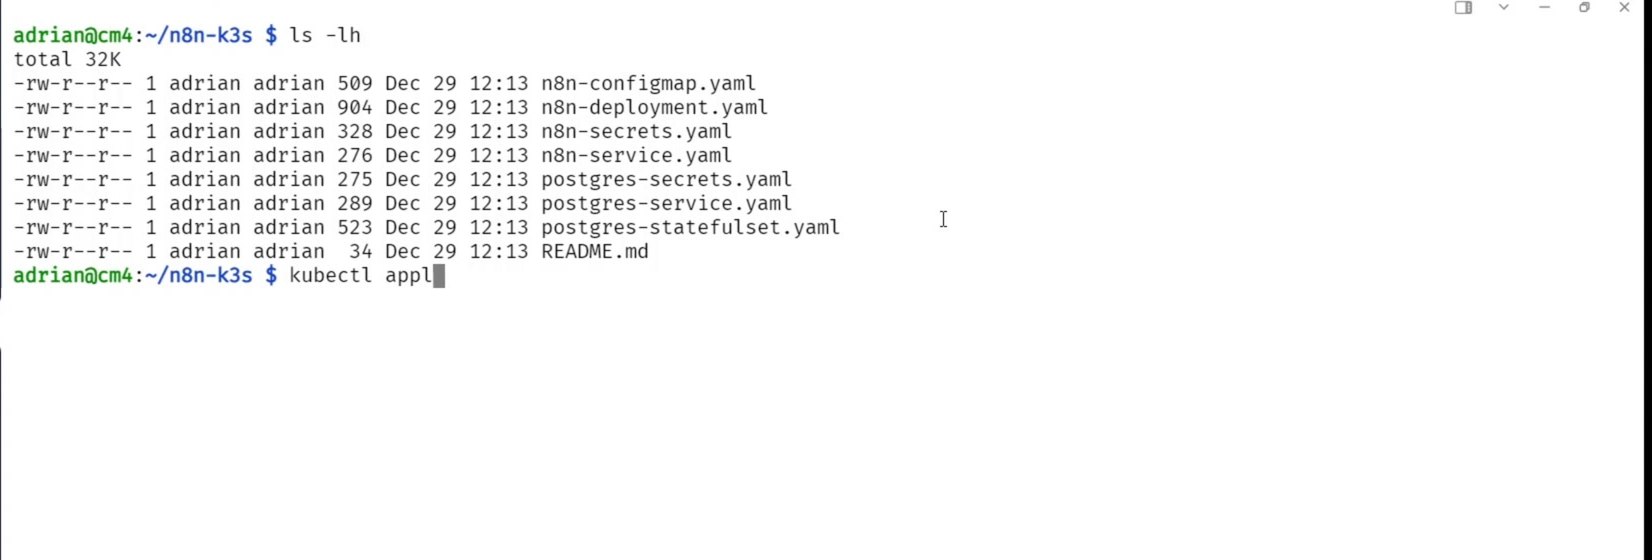
If you see errors that the n8n namespace was not found, create that namespace first and apply the manifests again.
kubectl create namespace n8n
kubectl apply -f .

Step 3: Check Whether n8n Is Running
After applying the manifests, list the resources in the n8n namespace. At first, the pod may still be starting or initializing.
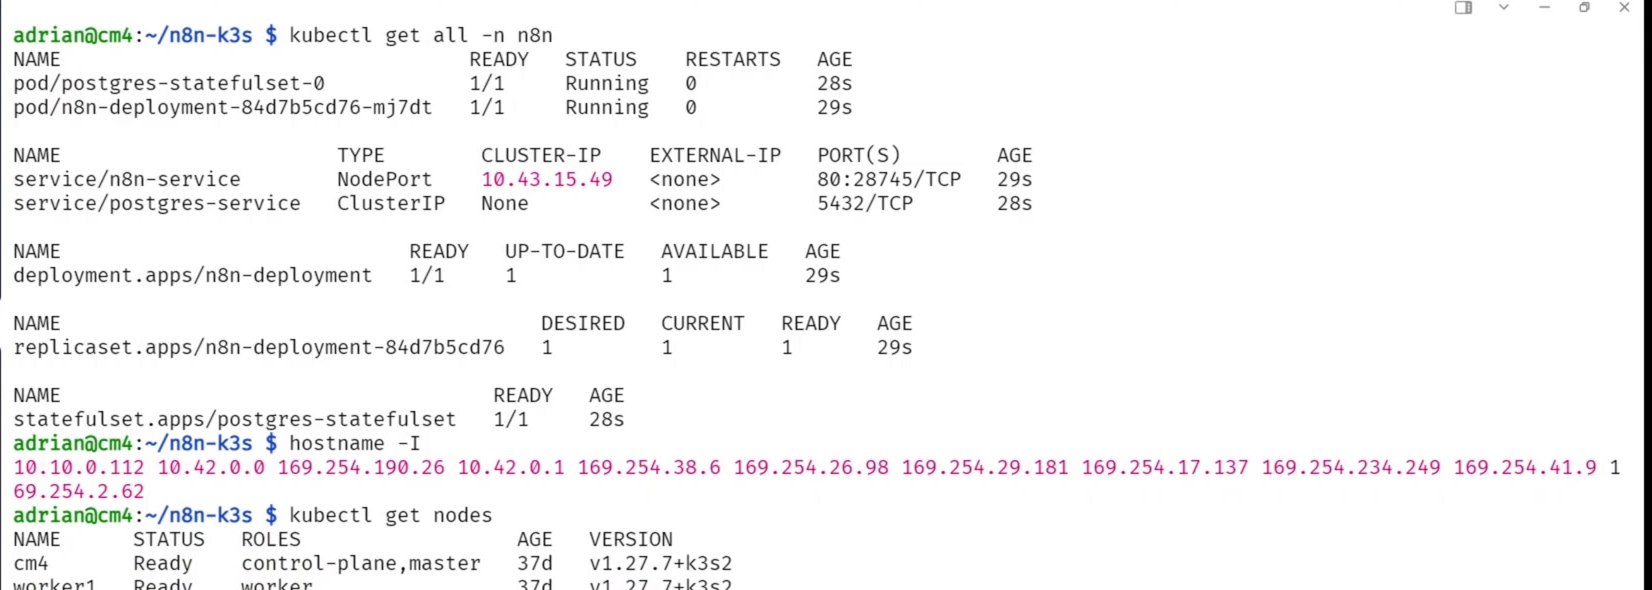
kubectl get all -n n8n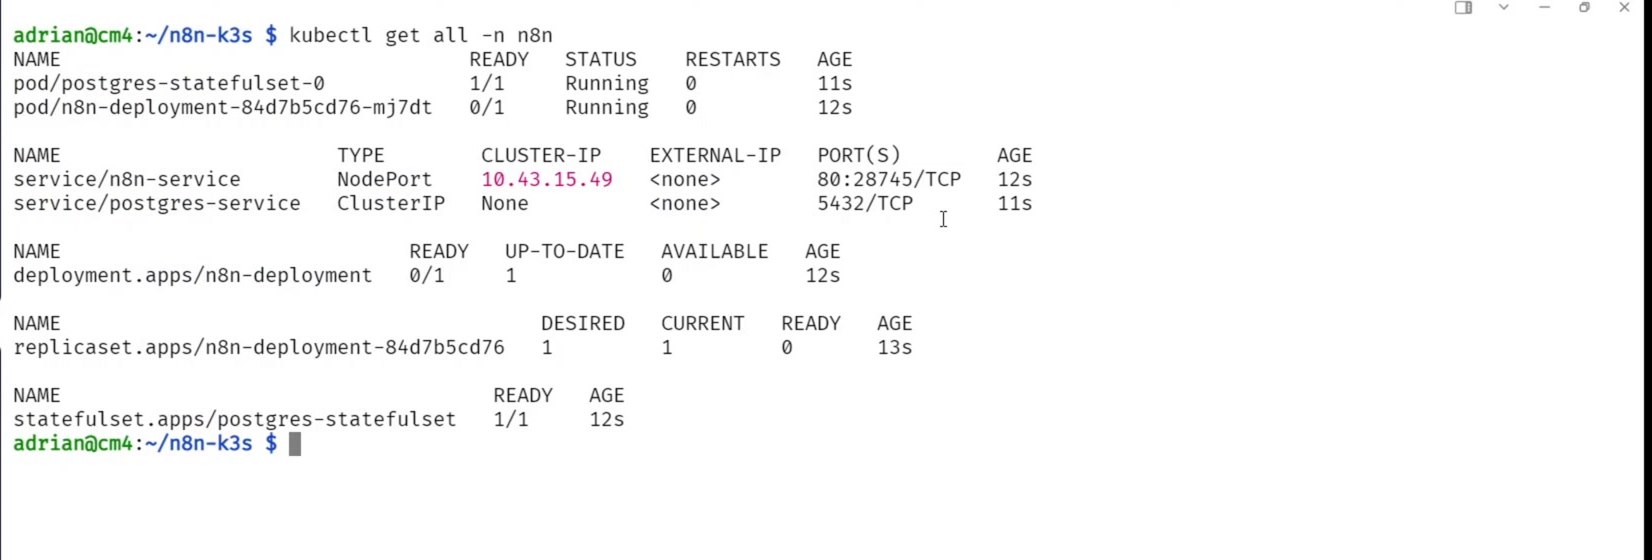
Run the same command again after a short wait. The key signal is the pod status showing 1/1 Running.

You can also check which Kubernetes node is hosting the n8n pod. This is useful for understanding where the workload landed, but it is not the best long-term address to give users.
kubectl get pods -n n8n -o wide
Step 4: Understand the n8n Service Port
The Service is the important piece for browser access. The n8n container listens on port 5678, but the Kubernetes Service may expose it through another external NodePort.
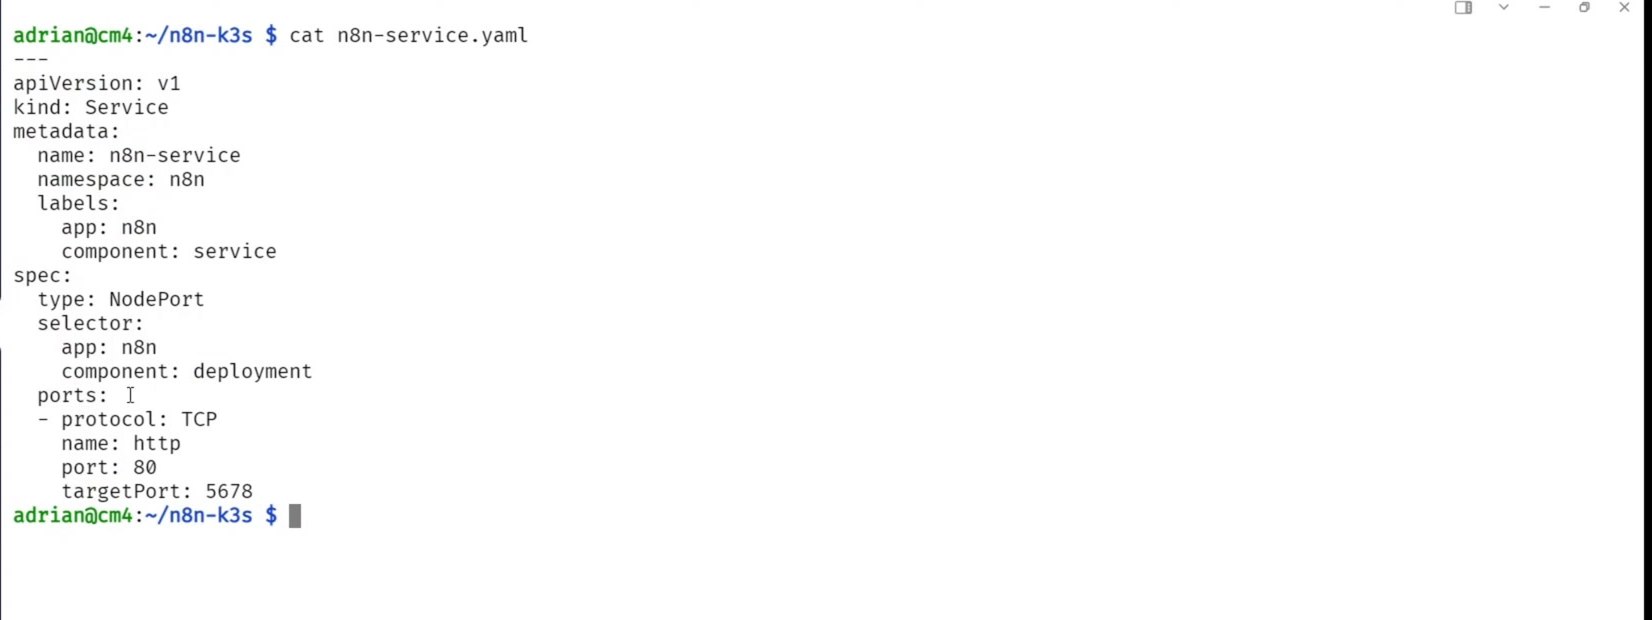
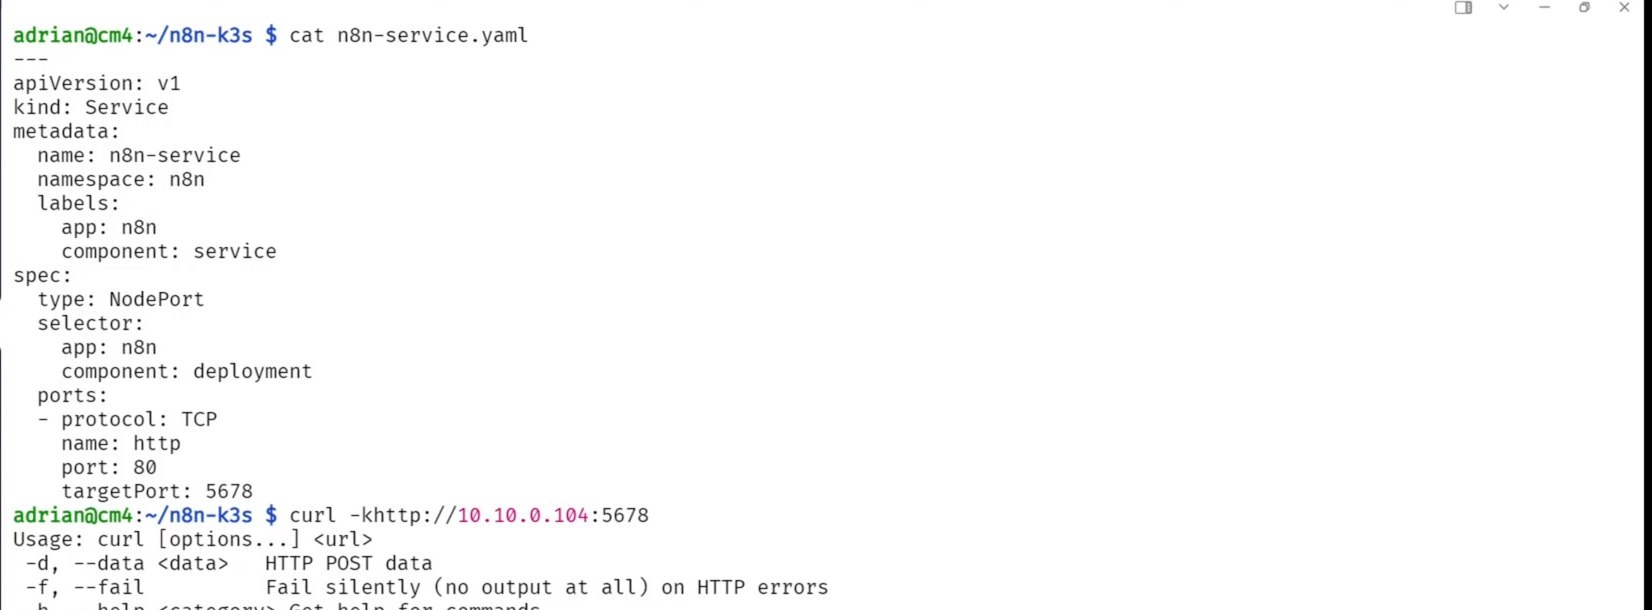
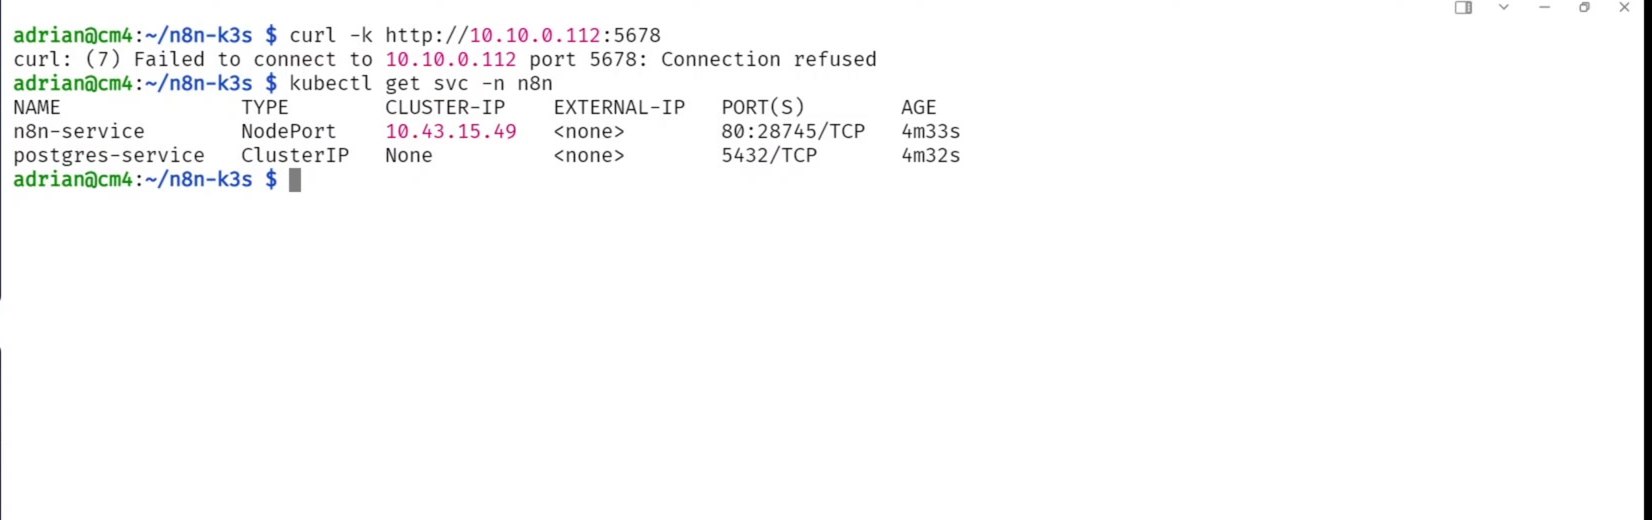
A common mistake is trying to open the node IP directly on :5678. That can return connection refused because 5678 is the target port inside the pod, not necessarily the external NodePort.
curl -k http://<node-ip>:5678
Step 5: Find the Actual NodePort
List the Services in the n8n namespace and look for the n8n Service. The external port appears in the PORT(S) column, usually in a format like 80:31234/TCP. In that example, 31234 is the NodePort to use from the browser.
kubectl get svc -n n8n
Kubernetes NodePort Services normally allocate from the range 30000-32767. k3s exposes the same idea through the
--service-node-port-rangeserver option.
Step 6: About Changing the k3s NodePort Range
The tutorial shows the k3s service file because the demo cluster had a custom NodePort range. This is useful to understand, but it is not required for a normal n8n deployment.

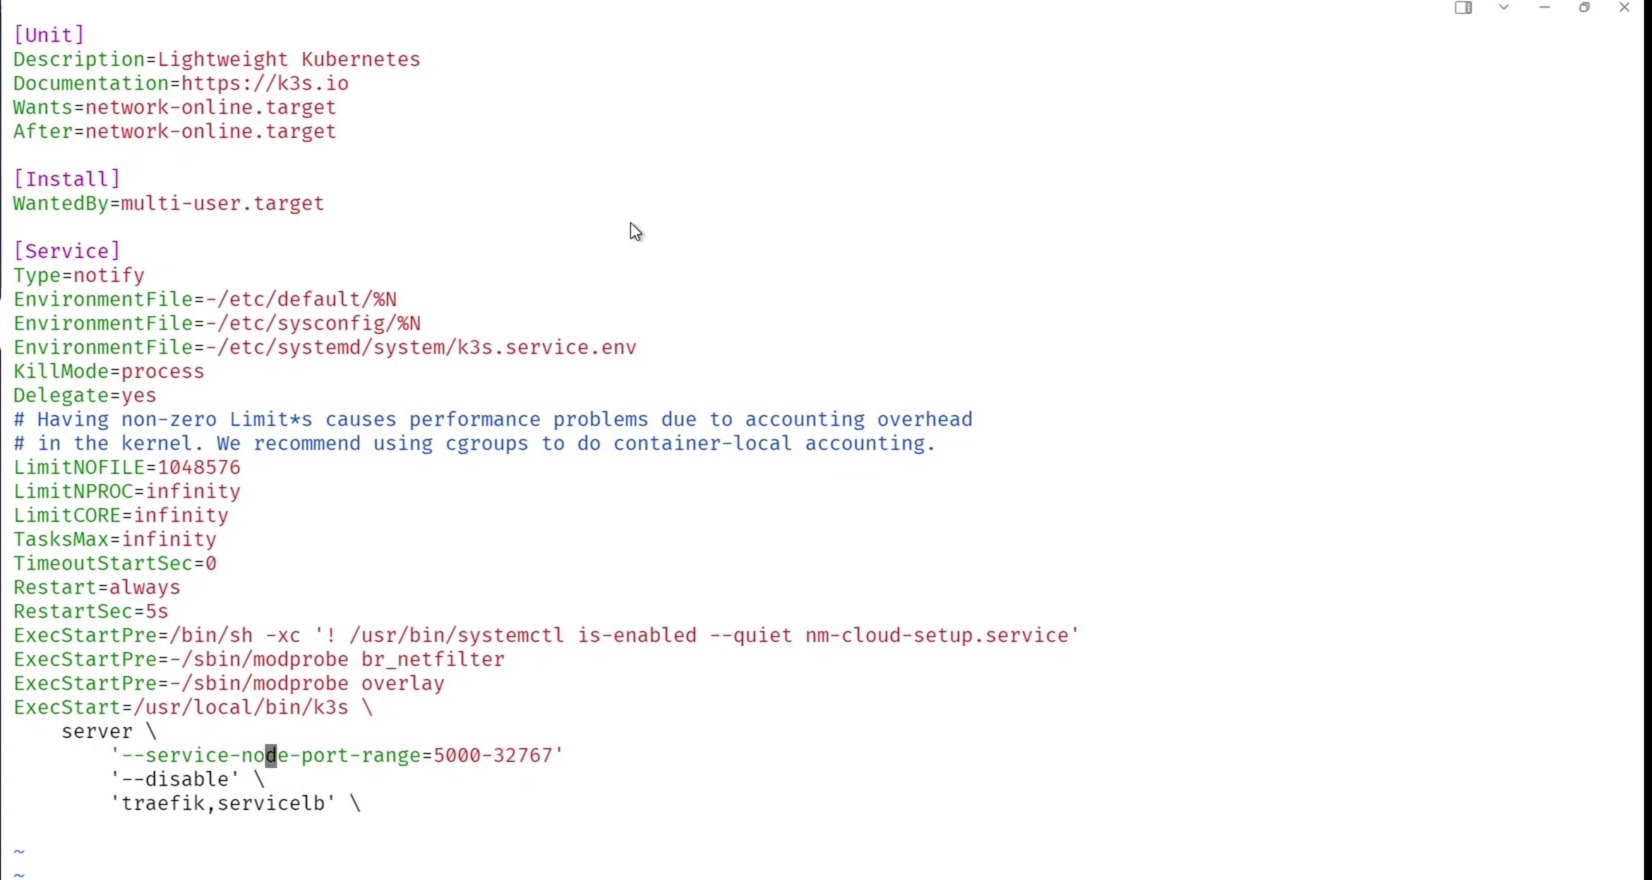
If you change the k3s NodePort range, reload systemd and restart k3s. Also remember: changing the allowed range does not automatically reassign the port for an existing Service. If you need a different generated NodePort, recreate the Service after changing the range, or explicitly set nodePort in the Service manifest to a valid, unused value inside the configured range.
sudo systemctl daemon-reload
sudo systemctl restart k3s
Step 7: Access n8n Through the NodePort
Now call the node IP using the assigned NodePort, not the internal n8n container port. Kubernetes documents that a NodePort Service can be reached by connecting to any node IP on the assigned port.
curl -k http://<master-node-ip>:<nodePort>
# Example pattern:
# curl -k http://10.10.0.112:31234
The safest address to bookmark is usually the master or control-plane node IP, assuming it is stable. If the pod later moves from one worker node to another, the Service can still route traffic for you.
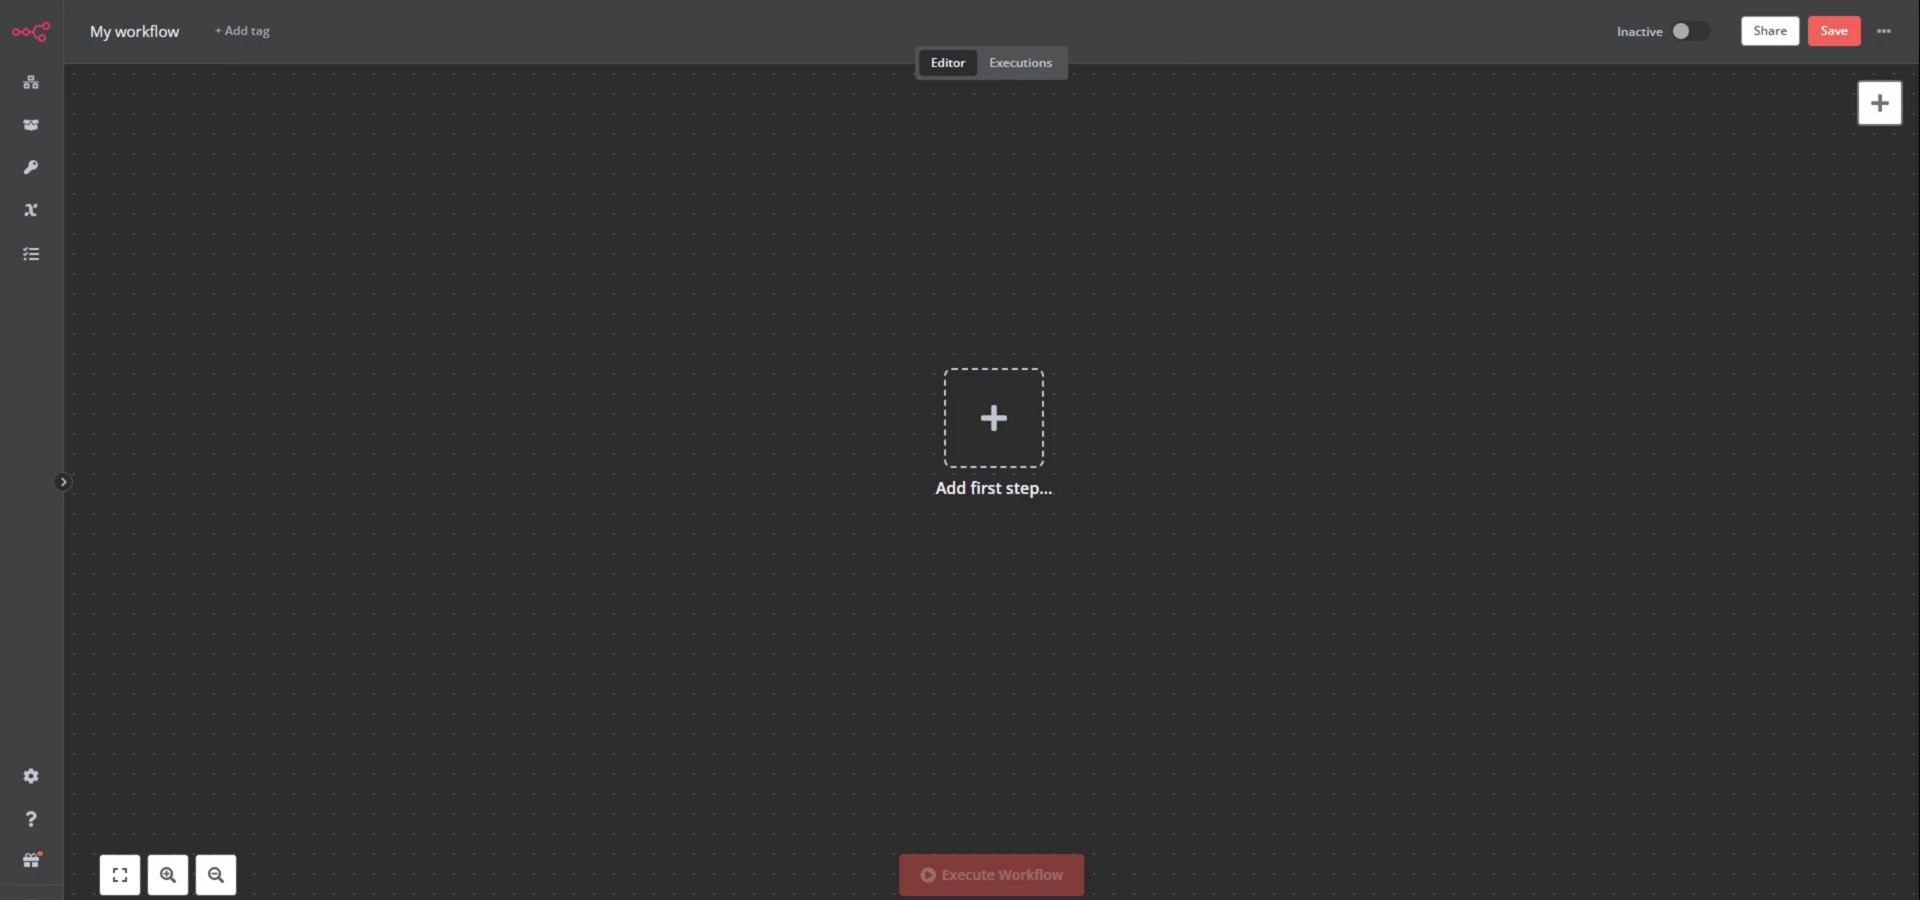
Step 8: Finish n8n Setup in the Browser
Open the same URL in a browser using the node IP and NodePort. You should see the n8n owner account setup screen.


After creating the owner account and finishing the onboarding questions, the n8n editor loads. At this point, n8n is running inside k3s.
Quick Troubleshooting Checklist
- If
kubectl apply -f .fails with namespace errors, create then8nnamespace first. - If the pod is not
1/1 Running, check logs withkubectl logs -n n8n <pod-name>. - If
:5678refuses the connection, usekubectl get svc -n n8nand connect to the Service NodePort instead. - If the browser still cannot connect, check your firewall and confirm the NodePort is open between your computer and the k3s node.
- For production, prefer an Ingress controller, domain name, and TLS certificate instead of exposing n8n only by NodePort.
Production Notes
This is a good learning deployment, but production n8n needs extra care. Secure the instance with HTTPS, store secrets safely, back up PostgreSQL, use persistent volumes, and avoid exposing administrative tools directly to the public internet. n8n’s own hosting docs also note that self-hosting requires technical knowledge around servers, containers, scaling, and security.
Useful References
Official docs used for this guide: n8n hosting documentation, kubectl apply reference, kubectl create namespace reference, Kubernetes NodePort Service docs, and k3s server options.


Olaitan Oladipo holds a BSc in Sociology from Olabisi Onabanjo University. He is a self-taught automation builder who has spent years inside n8n doing the work that most tutorials skip: debugging OAuth errors at 2am, migrating client automations from Make.com mid-project, fighting reverse proxy misconfigurations on AWS EC2, and figuring out through trial and error what actually holds up in production versus what only looks clean in a demo.
He is not a developer by training and not a SaaS founder. He is the person in the Discord server who actually answers the question instead of linking to the docs.
His writing on n8n Automation Tutorial covers self-hosting, AI agent workflows, tool comparisons, and the security vulnerabilities the automation industry would rather not discuss. He has built AI-assisted invoice approval flows using OpenAI function calling, connected Claude via HTTP Request nodes, and holds considered opinions about Zapier, Make.com, LangChain, and CrewAI that their marketing teams would not appreciate.
He writes for people who are technical enough to follow a tutorial but experienced enough to want the honest version.


