

Puppeteer gives n8n workflows a way to control a real browser. That is useful when a normal HTTP Request or HTML extraction step is not enough, especially on pages that depend heavily on JavaScript, client-side rendering, login flows, scrolling, screenshots, or button clicks.
This article explains how to install Puppeteer in n8n using the Community Nodes method, then test the node by capturing a screenshot from a webpage. For the previous guide in this series, read n8n HTTP Request Node Retry on Fail: Error Handling & Retry Logic.
What Puppeteer Does
Puppeteer is a JavaScript library that provides a high-level API for controlling Chrome or Firefox. It can open pages, click buttons, type into forms, wait for page content, scrape rendered pages, generate PDFs, and capture screenshots.

Before You Install
- Use a self-hosted or local n8n instance where community nodes are allowed.
- Update n8n first if you are running an old version.
- Install only community nodes you trust, because community packages can access workflow data and the machine running n8n.
- If you use Docker or a server deployment, confirm that community packages are enabled in your environment configuration.
- For production browser automation, test browser dependencies carefully because Chromium may need extra system libraries on some Linux servers.
Important: community nodes from npm are third-party code. Review the package, check maintenance activity, and avoid installing random packages into production n8n instances.
Step 1: Open Community Nodes in n8n
Inside n8n, open the settings area and select Community nodes. This is where you can install, update, or inspect installed community packages.

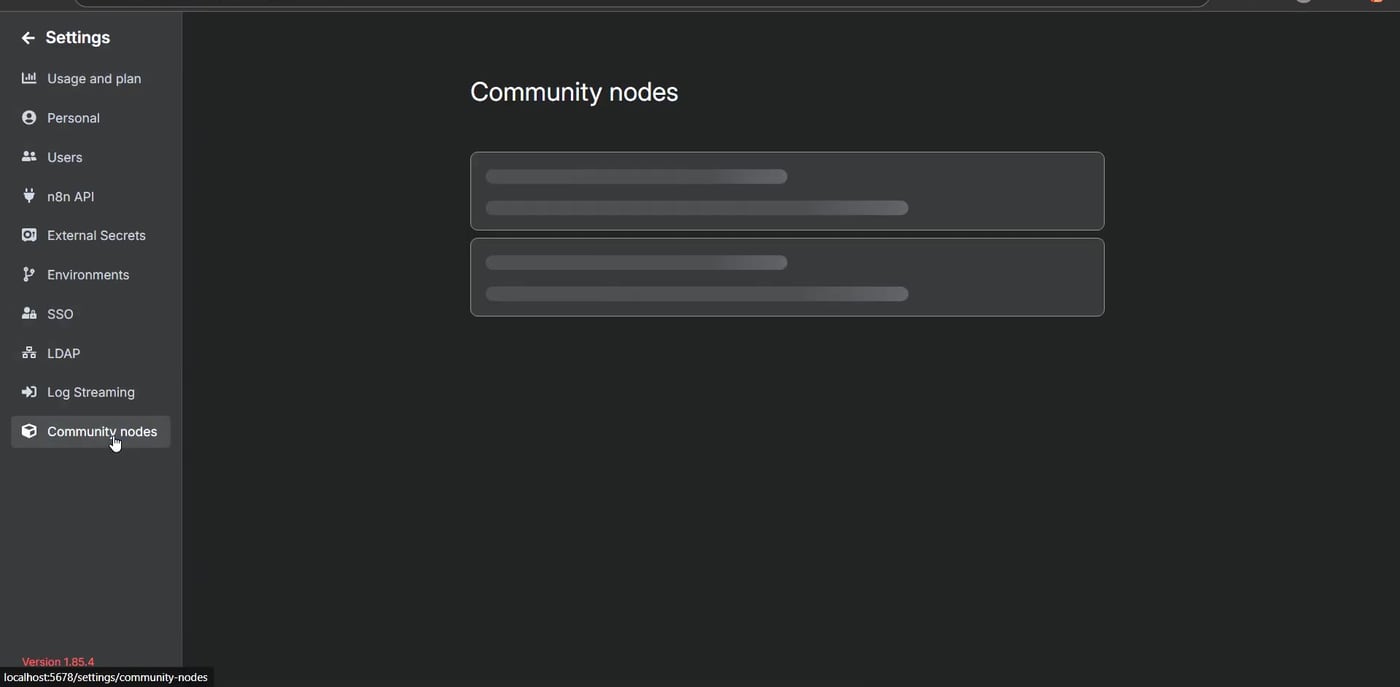
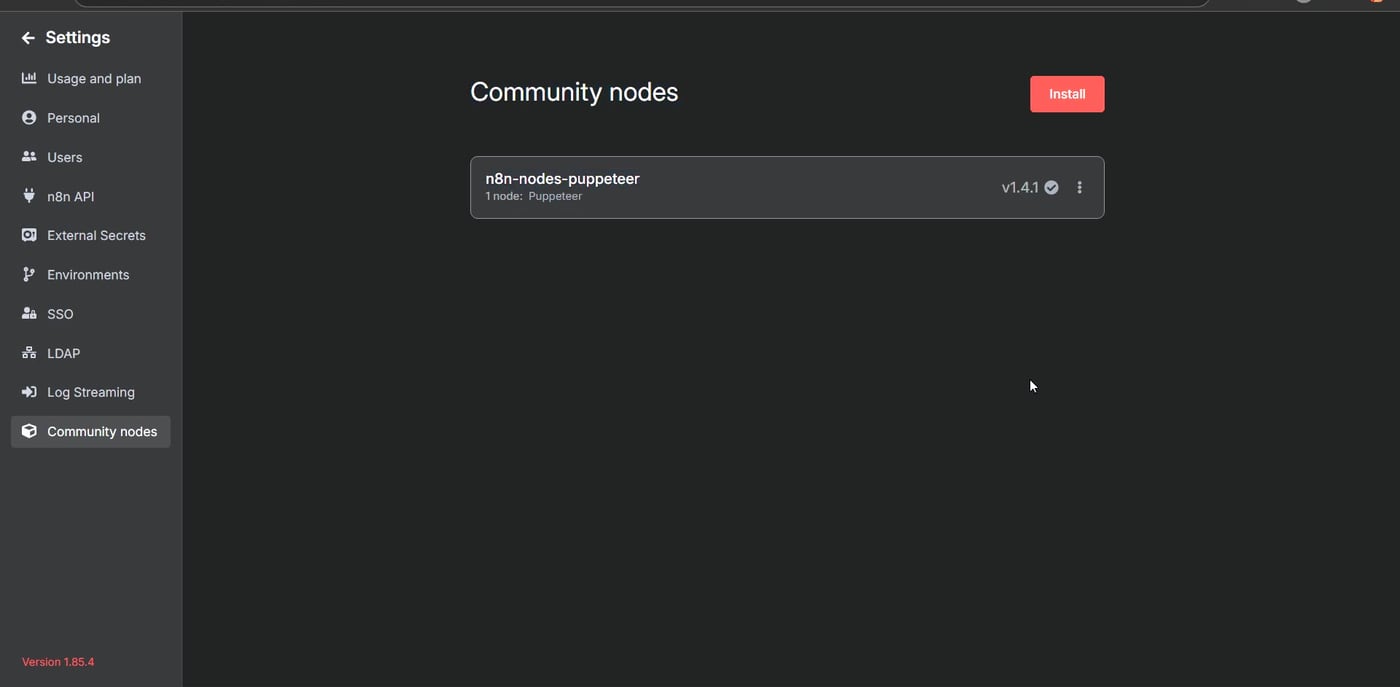
If Puppeteer is already installed, it appears in the installed community nodes list. If it is not listed, you still need to install it.
Step 2: Install the Puppeteer Community Node
Click Install. In the npm package name field, enter the package name exactly as shown below:
n8n-nodes-puppeteer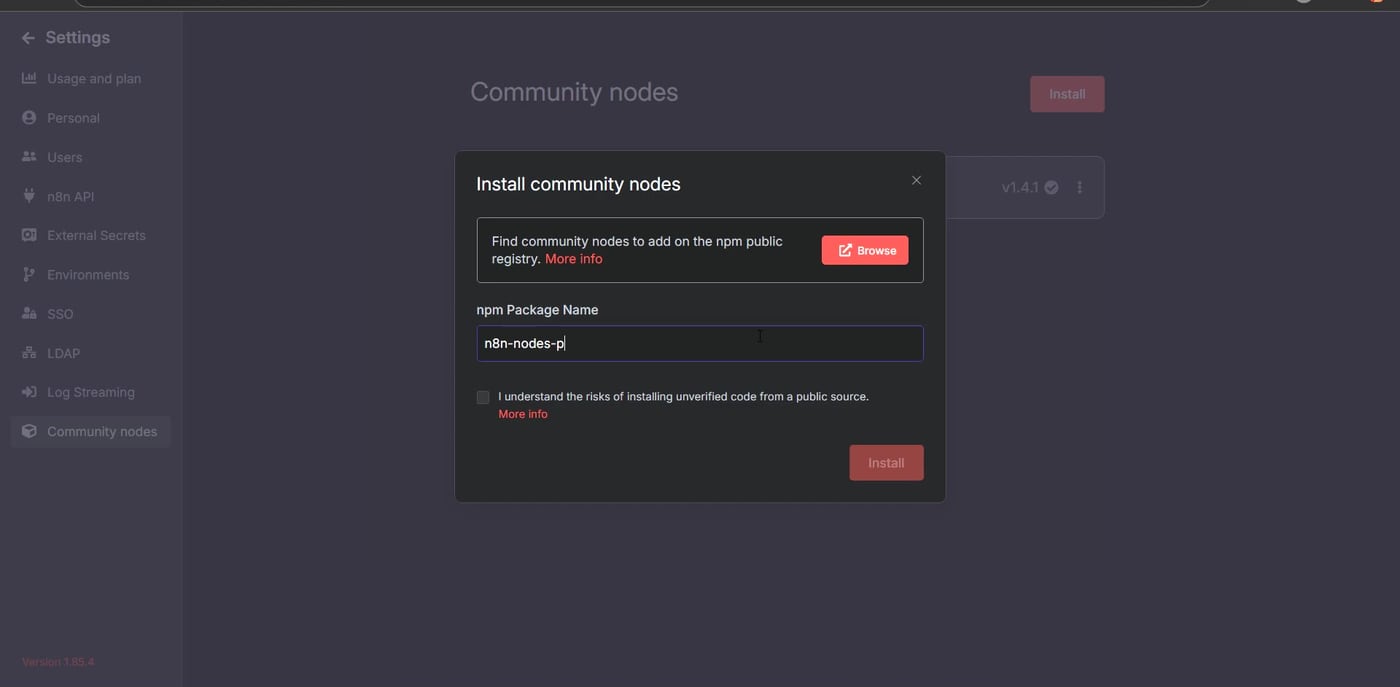
After entering the package name, agree to the community node risk notice and install the package. If installation succeeds, the package appears in the Community nodes list.
You can also search npm to confirm the package name before installing. This is helpful because many community packages have similar names.
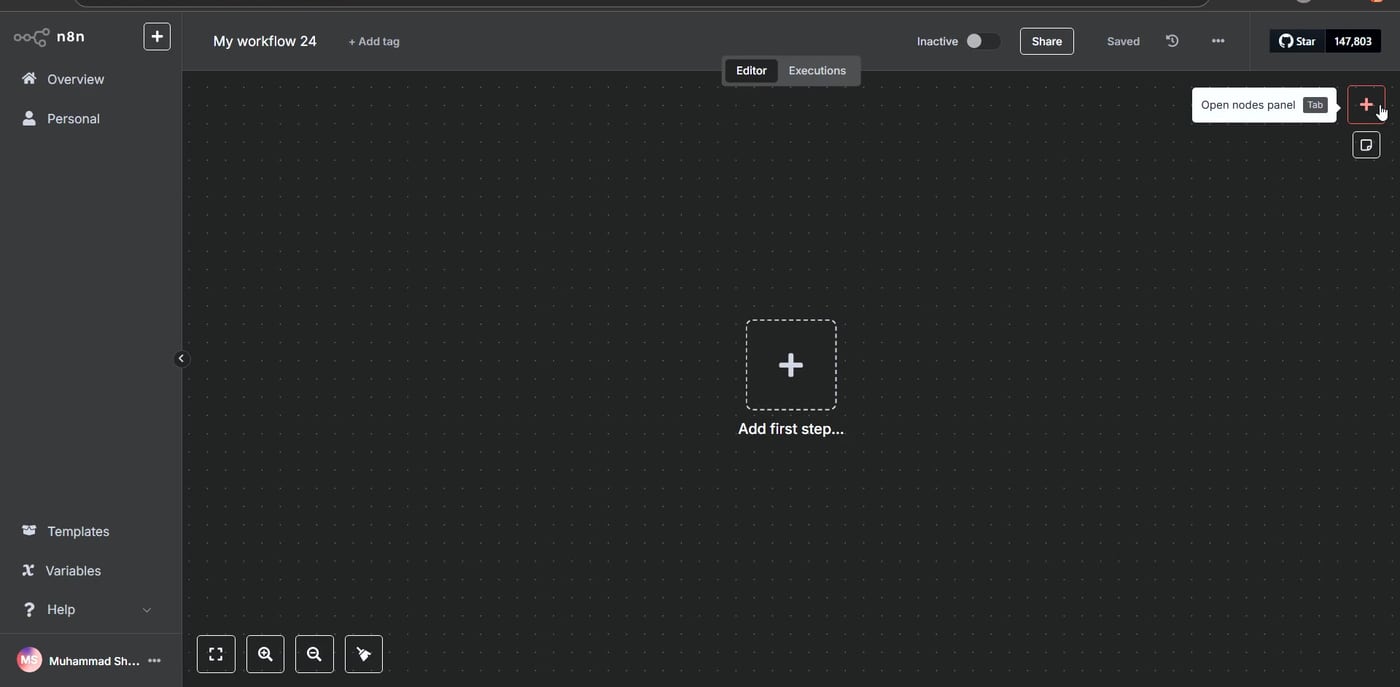
Step 3: Create a Test Workflow
Create a new workflow and click Add first step. The goal is to run a simple Puppeteer action before building a larger scraping or browser automation workflow.
Search for Puppeteer. The community node should appear with actions such as getting page content, generating a PDF, getting metadata, or taking a screenshot.
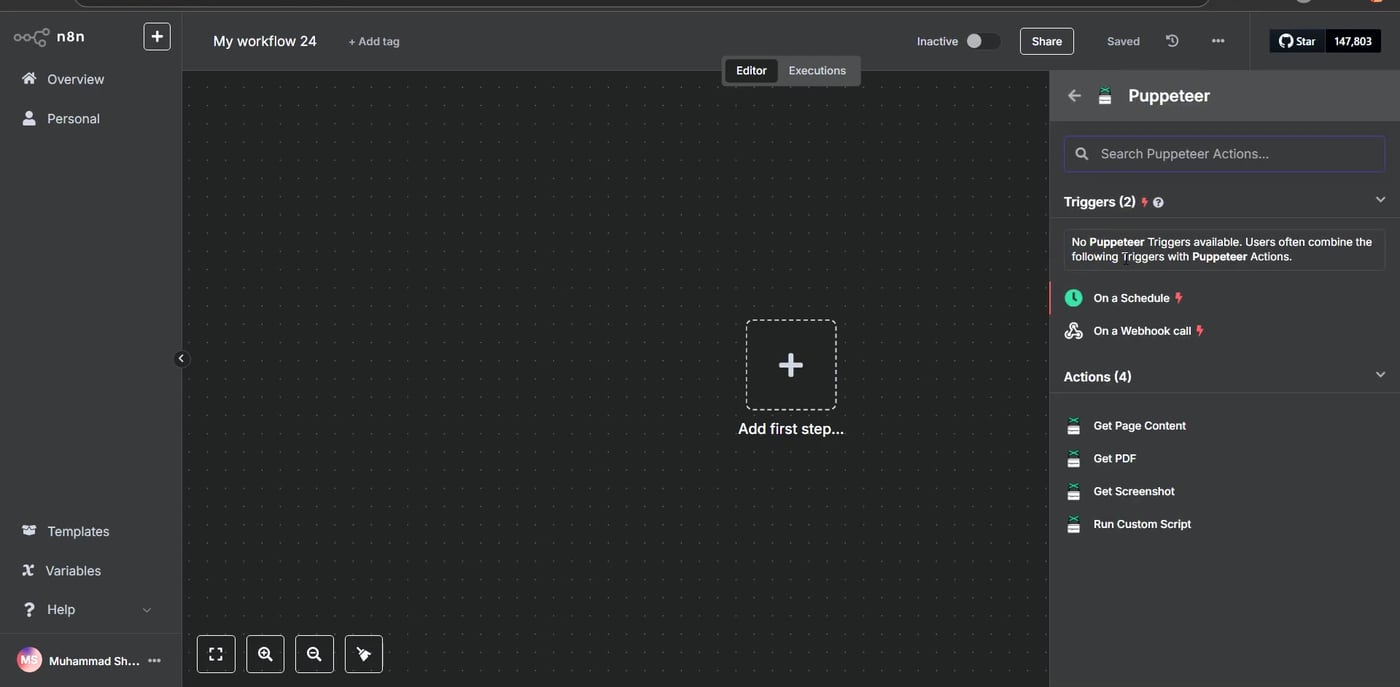
Step 4: Add the Puppeteer Node
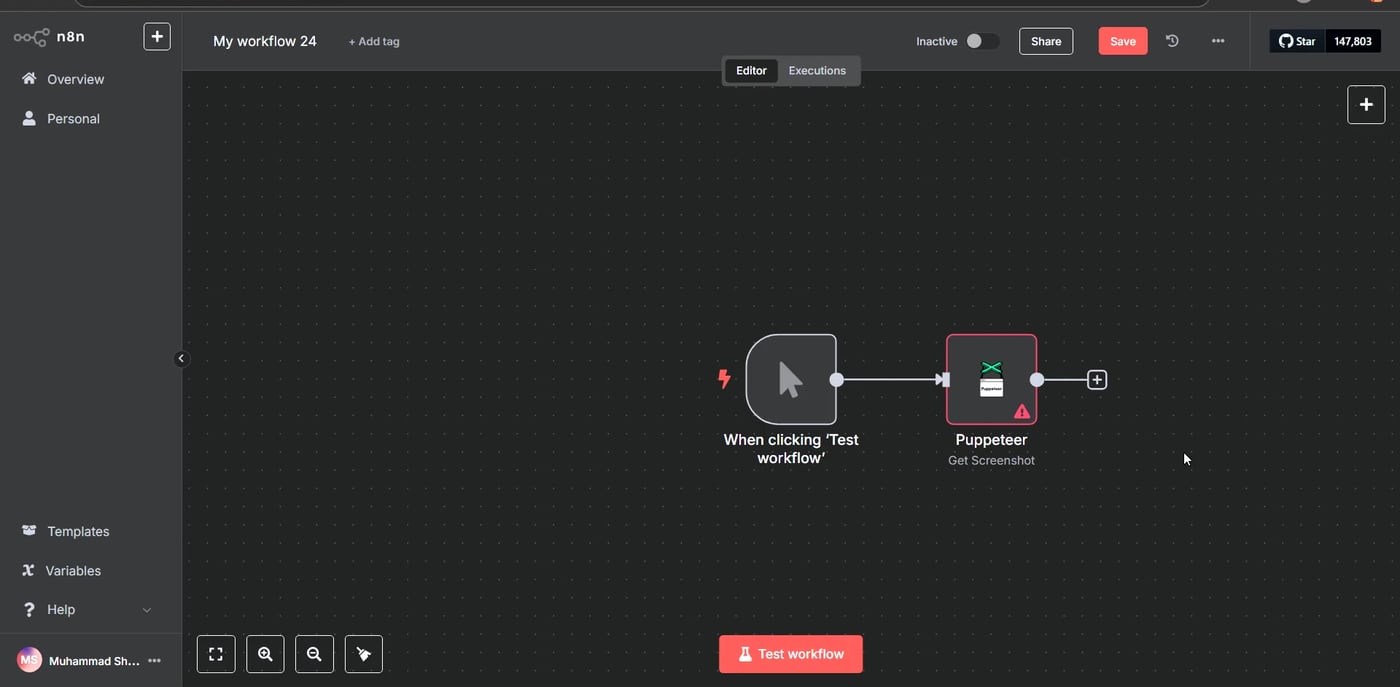
Choose a simple test action first. In this example, the Puppeteer node is added to the workflow and connected to a trigger. A screenshot action is a good first test because the result is easy to verify visually.
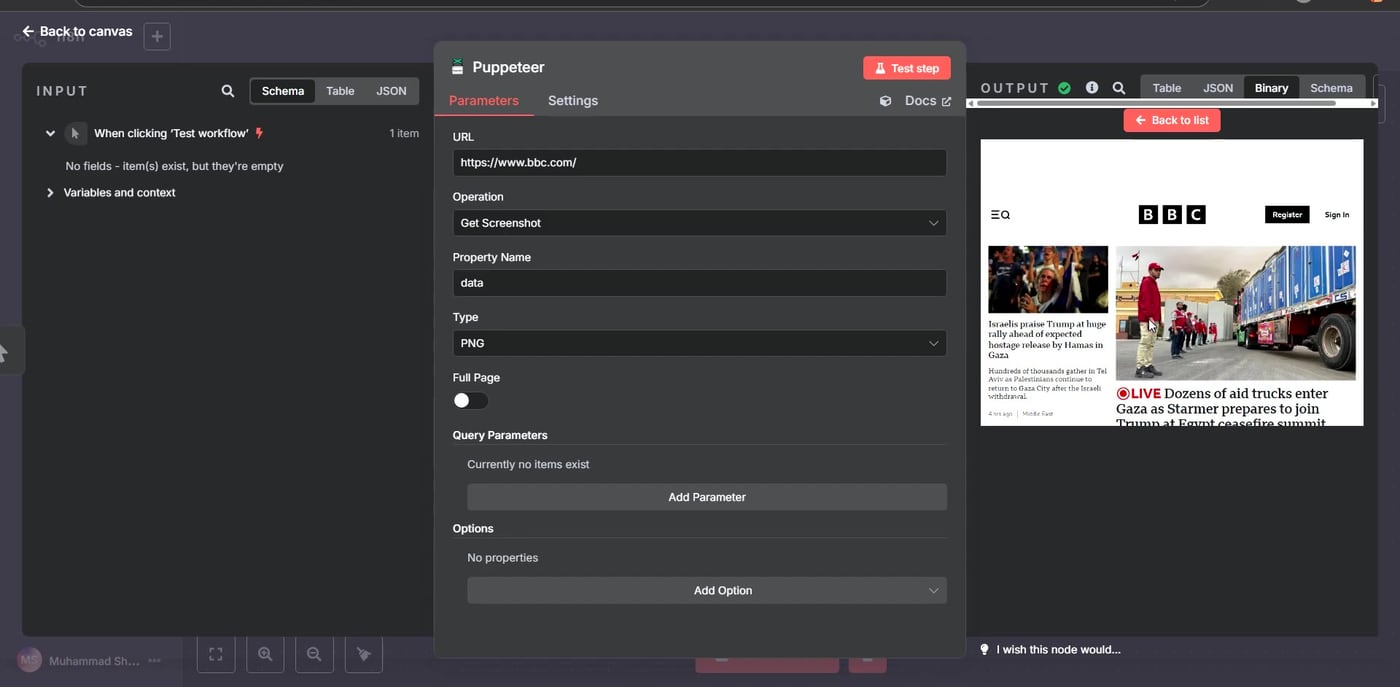
Step 5: Configure Get Screenshot
Open the Puppeteer node and select Get Screenshot. Enter the webpage URL you want to test, such as a news homepage or another public page. Keep the first test simple so you can confirm the node works before adding more advanced logic.
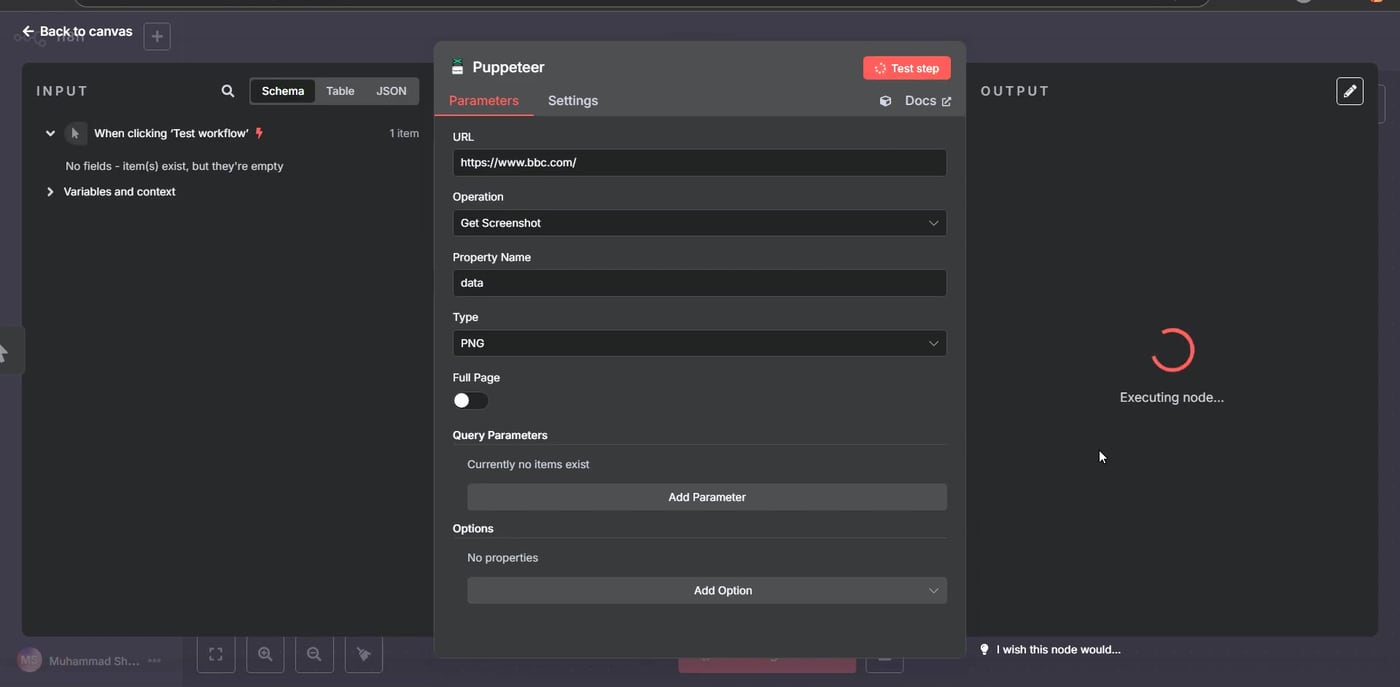
Step 6: Run the Test
Execute the node. If the setup is working, the output panel should show a captured screenshot of the page. This confirms that Puppeteer can open the webpage, render it, and return a visual result inside n8n.
What to Build Next
- Capture screenshots of pages that change over time.
- Scrape content from JavaScript-heavy websites that do not expose useful static HTML.
- Automate browser form filling for internal tools.
- Generate PDFs from rendered pages.
- Send scraped content into Google Sheets, Notion, Airtable, or an AI summarization workflow.
Common Troubleshooting Tips
- If the Puppeteer node does not appear, confirm that the package installed successfully and reload n8n.
- If installation fails in Docker, check whether the container has the system libraries required by Chromium.
- If the screenshot is blank, increase wait time or use a page that does not require login, cookies, or bot challenges.
- If a site blocks automation, respect the site’s terms and use official APIs where available.
- If you are on n8n Cloud, remember that unverified npm community nodes may not be available the same way they are on self-hosted n8n.
Useful References
Official and package references used for this article: Puppeteer documentation, n8n community node installation options, n8n GUI installation for community nodes, n8n community node risks, and n8n-nodes-puppeteer on npm.


Olaitan Oladipo holds a BSc in Sociology from Olabisi Onabanjo University. He is a self-taught automation builder who has spent years inside n8n doing the work that most tutorials skip: debugging OAuth errors at 2am, migrating client automations from Make.com mid-project, fighting reverse proxy misconfigurations on AWS EC2, and figuring out through trial and error what actually holds up in production versus what only looks clean in a demo.
He is not a developer by training and not a SaaS founder. He is the person in the Discord server who actually answers the question instead of linking to the docs.
His writing on n8n Automation Tutorial covers self-hosting, AI agent workflows, tool comparisons, and the security vulnerabilities the automation industry would rather not discuss. He has built AI-assisted invoice approval flows using OpenAI function calling, connected Claude via HTTP Request nodes, and holds considered opinions about Zapier, Make.com, LangChain, and CrewAI that their marketing teams would not appreciate.
He writes for people who are technical enough to follow a tutorial but experienced enough to want the honest version.


