This guide shows how to connect n8n to OpenAI by adding an OpenAI API key to an OpenAI node credential. Once the credential is saved, you can use n8n to automate AI-powered tasks such as text generation, chat responses, classification, summaries, content workflows, and agent-style automations.
You will need access to your n8n instance and an OpenAI Platform account that can create API keys. The process is simple, but the key must be handled carefully because it can authorize API usage on your account. For the previous guide in this series, read How to fix access blocked: n8n.cloud has not completed the google verification process.
Security first: OpenAI API keys are secrets. Do not share them publicly, paste them into frontend code, or commit them to a repository. If a key is exposed, revoke or rotate it immediately.
Quick Setup Summary
- Open n8n and create or open a workflow.
- Add an OpenAI node to the canvas.
- Open the node credential section.
- Create a new OpenAI credential in n8n.
- Open the OpenAI Platform API keys page in another tab.
- Create a new secret key and copy it right away.
- Paste the key into n8n’s API Key field.
- Save the credential and make sure the OpenAI node uses it.
- Add a small test input and execute the node.
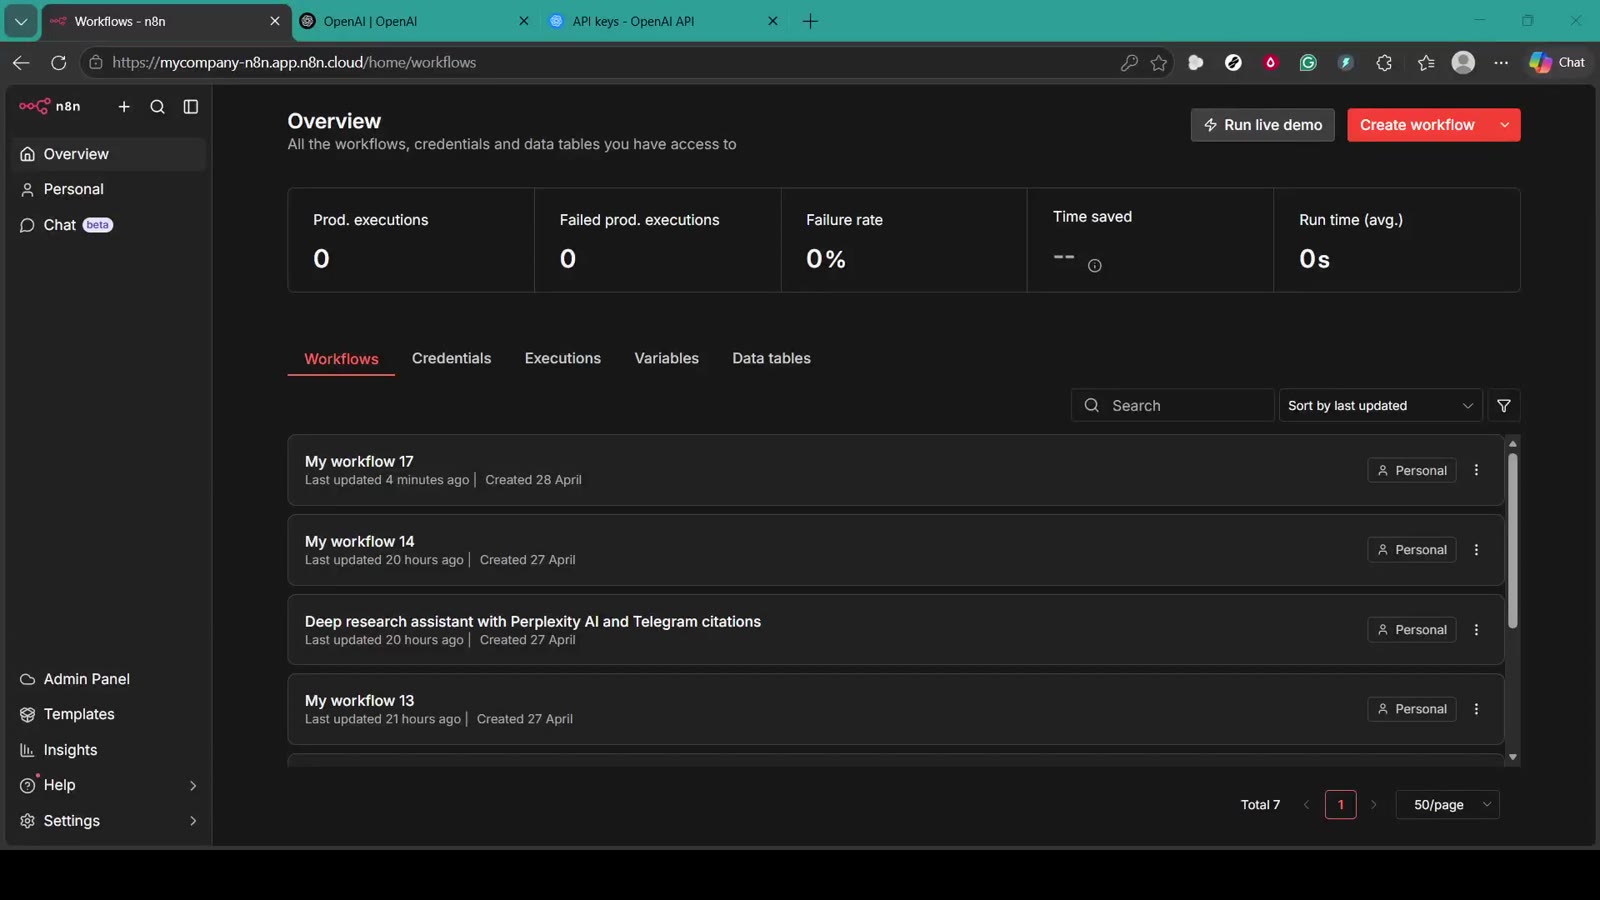
Step 1: Open n8n and Create a Workflow
Start from the n8n workflow overview. You can create a brand-new workflow or open an existing test workflow. For beginners, a blank workflow is the safest option because you can test the credential without changing production automations.

Give the workflow a descriptive name such as OpenAI API Key Test or OpenAI Credential Setup. Naming it clearly helps you find it later when you need to reuse or troubleshoot the OpenAI connection.
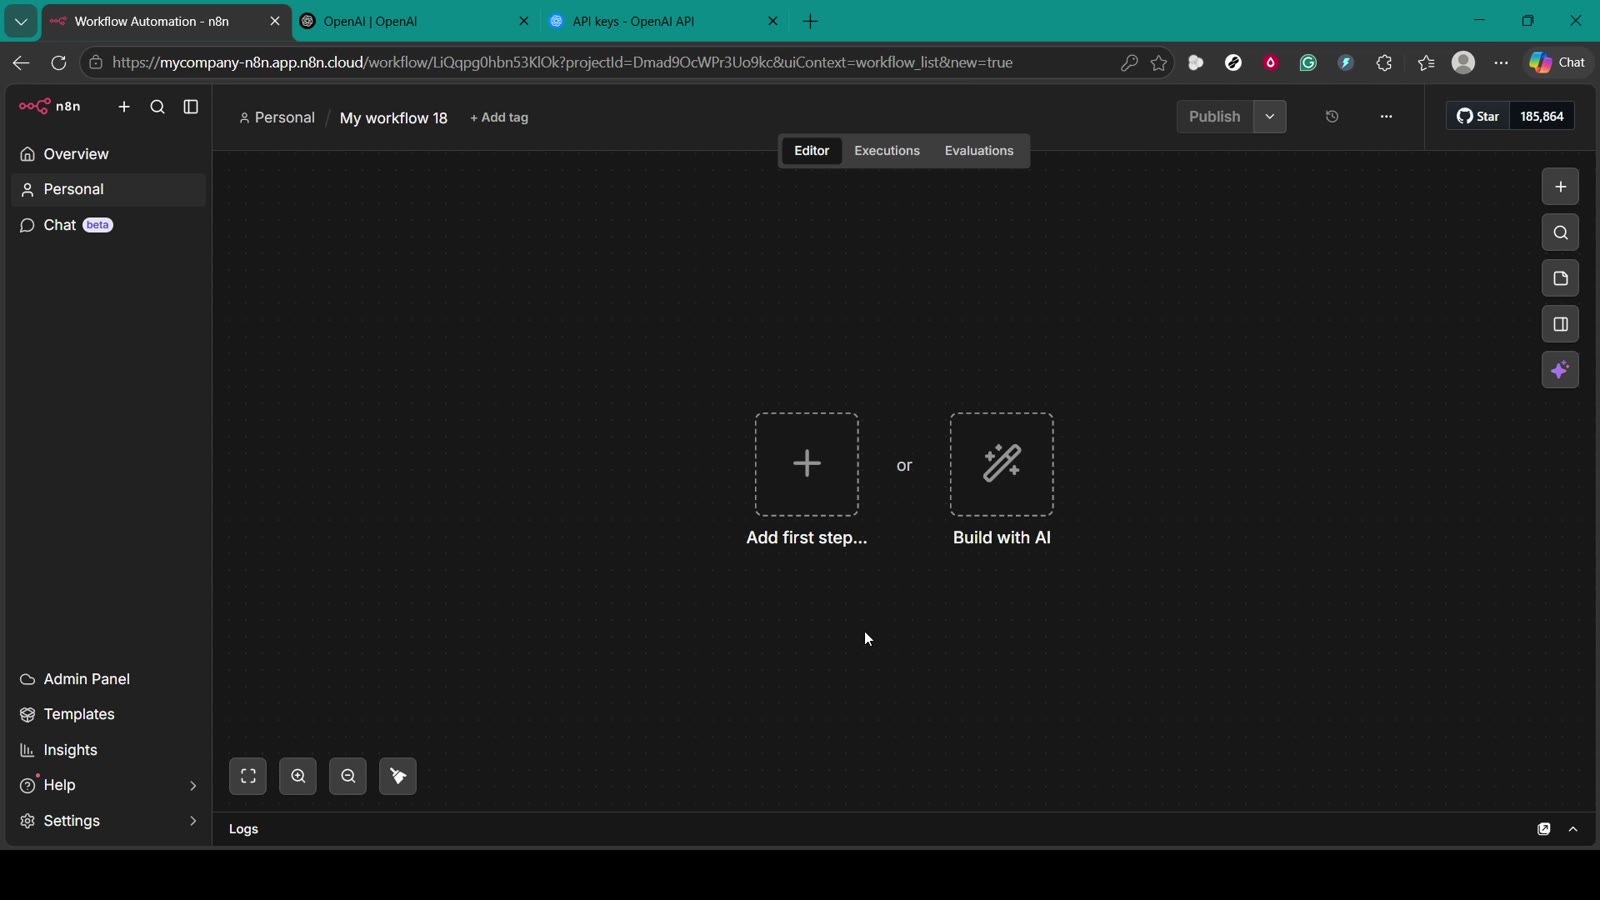
Step 2: Add a Starter Node or Use a Blank Canvas
The video shows a blank n8n canvas. You can add a manual trigger to keep the workflow tidy, but for credential setup, the most important step is adding the OpenAI node and saving the credential.
If you choose a trigger, Trigger manually is useful for testing. It lets you run the workflow only when you click the execute button.
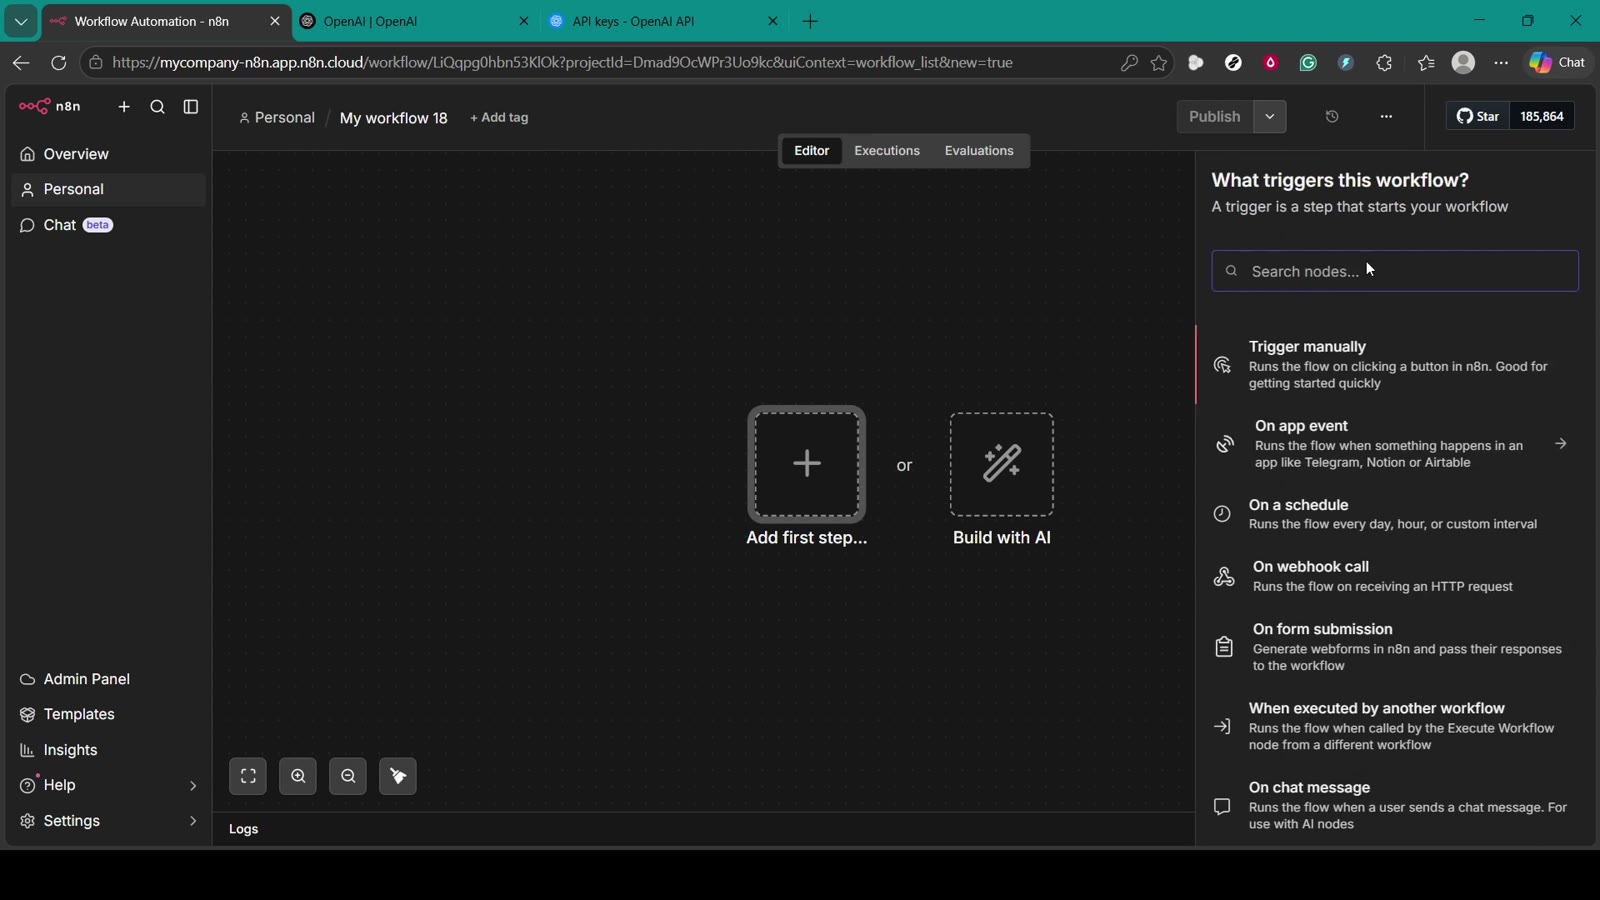
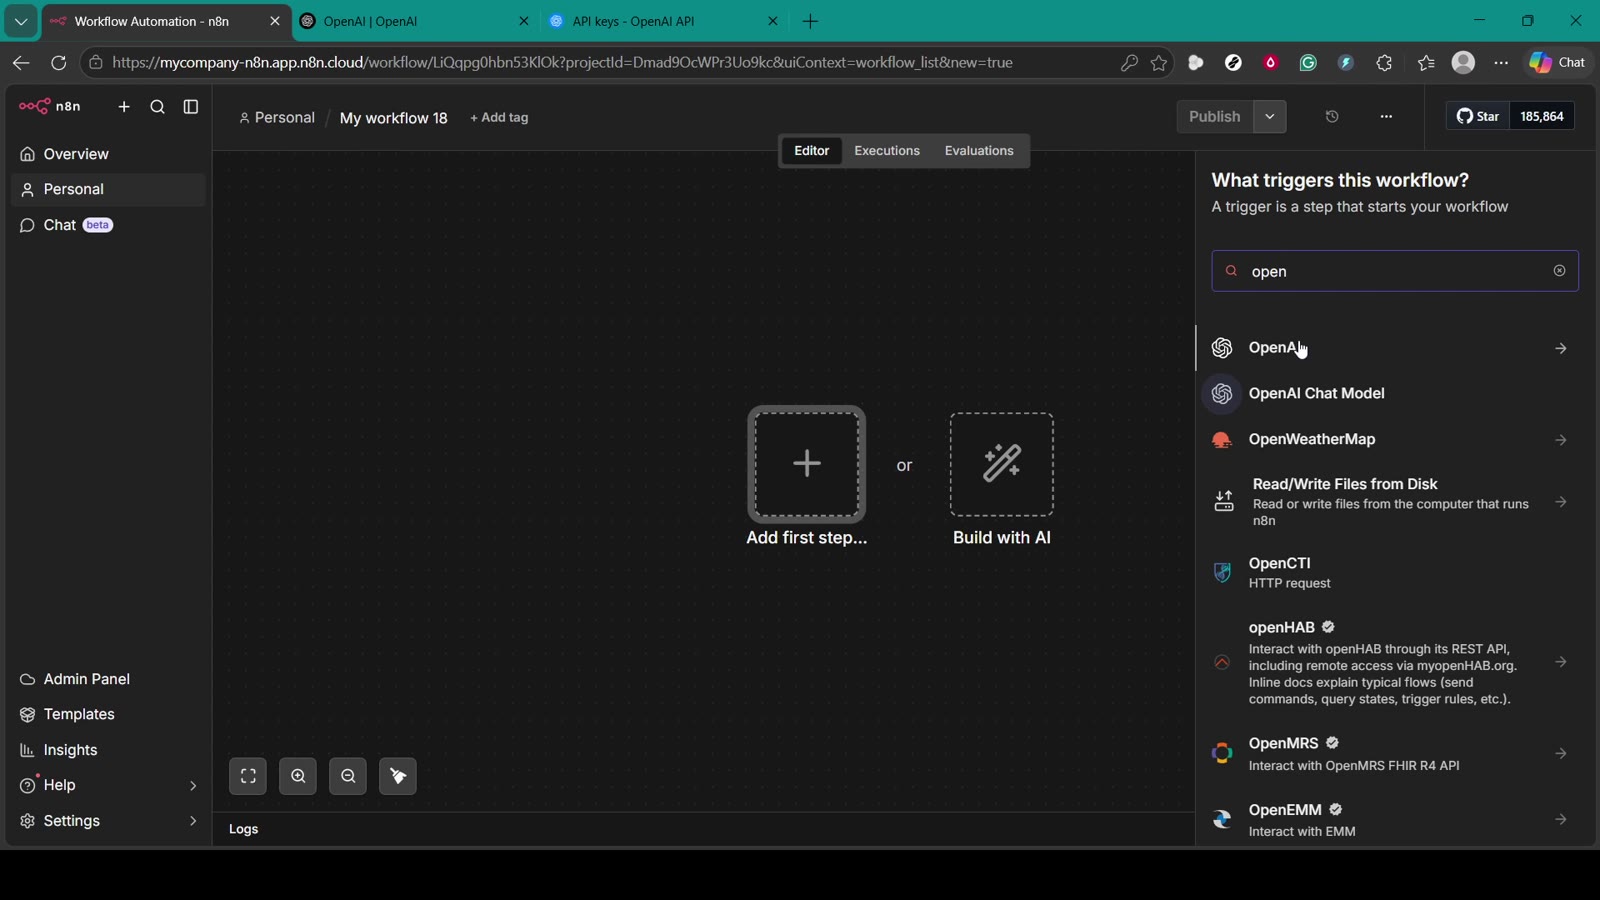
Step 3: Search for the OpenAI Node
Click the plus button or search area on the canvas, then search for OpenAI. n8n will show OpenAI-related nodes and models. Choose the OpenAI node that matches what you want to build.
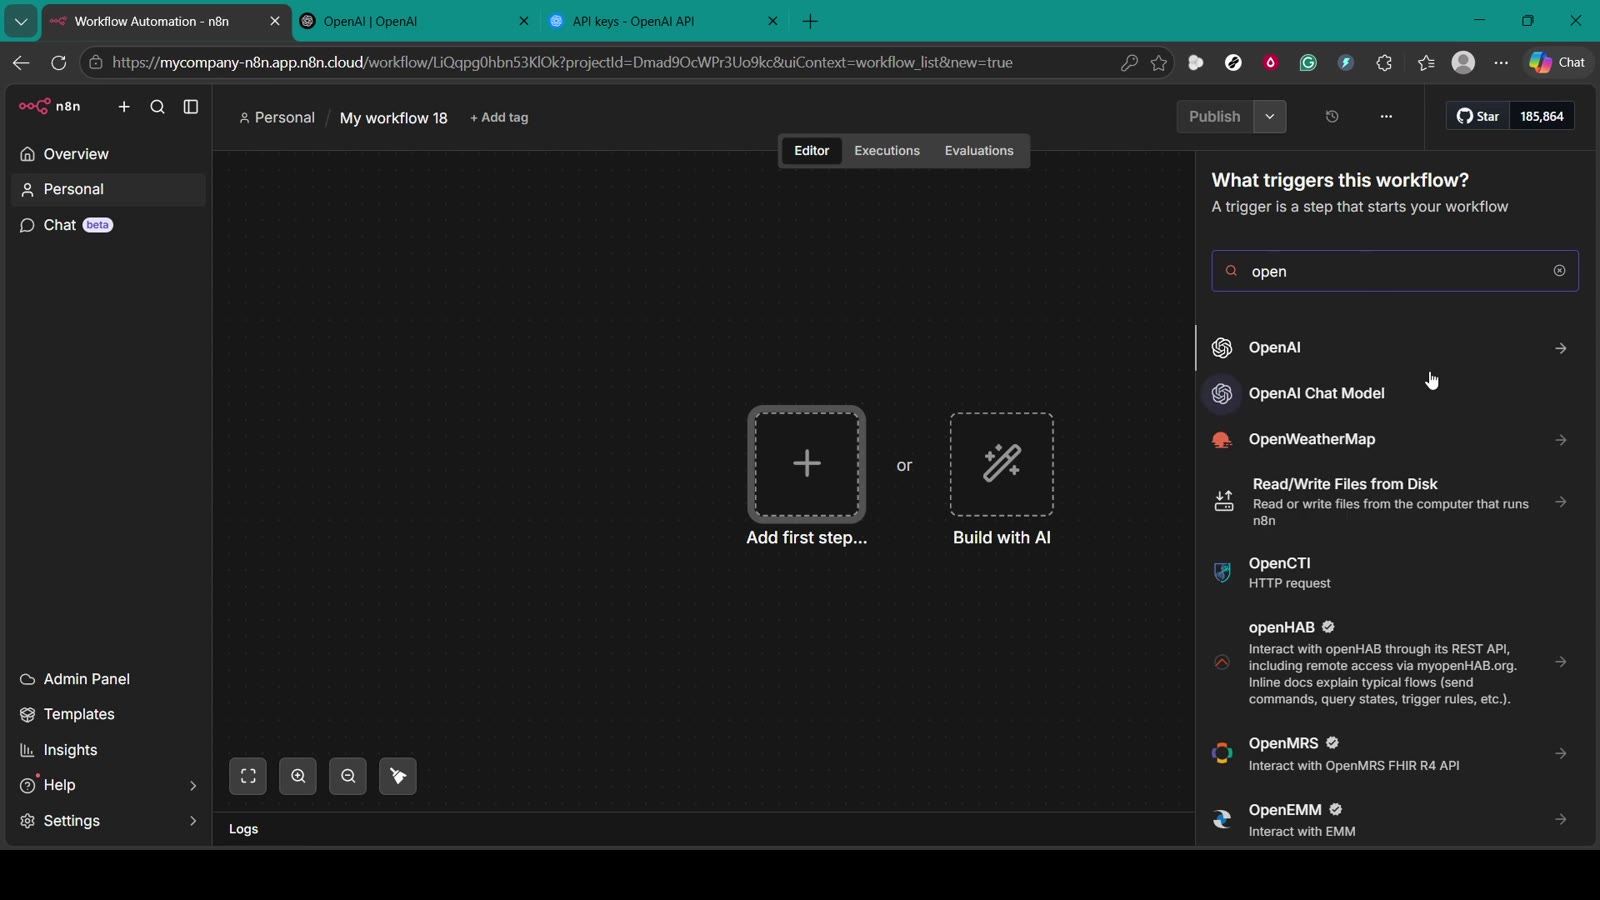
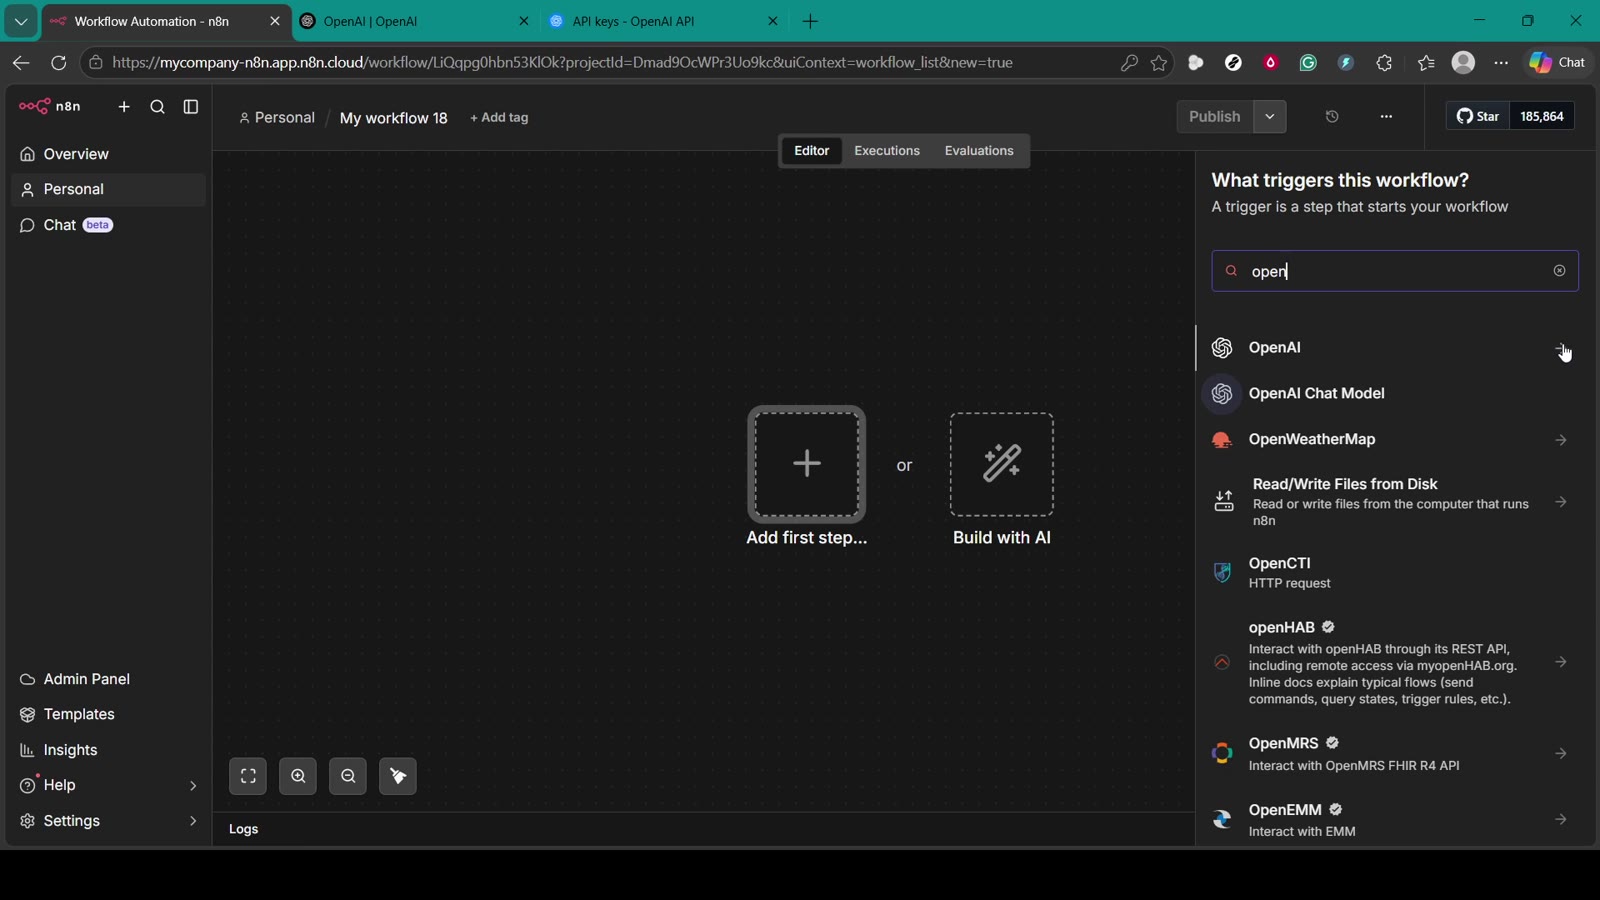
For general setup, the main OpenAI node is enough. If you are building AI-agent flows, you may also see options such as OpenAI Chat Model. The credential setup is still the same idea: n8n needs an API key before it can call OpenAI.
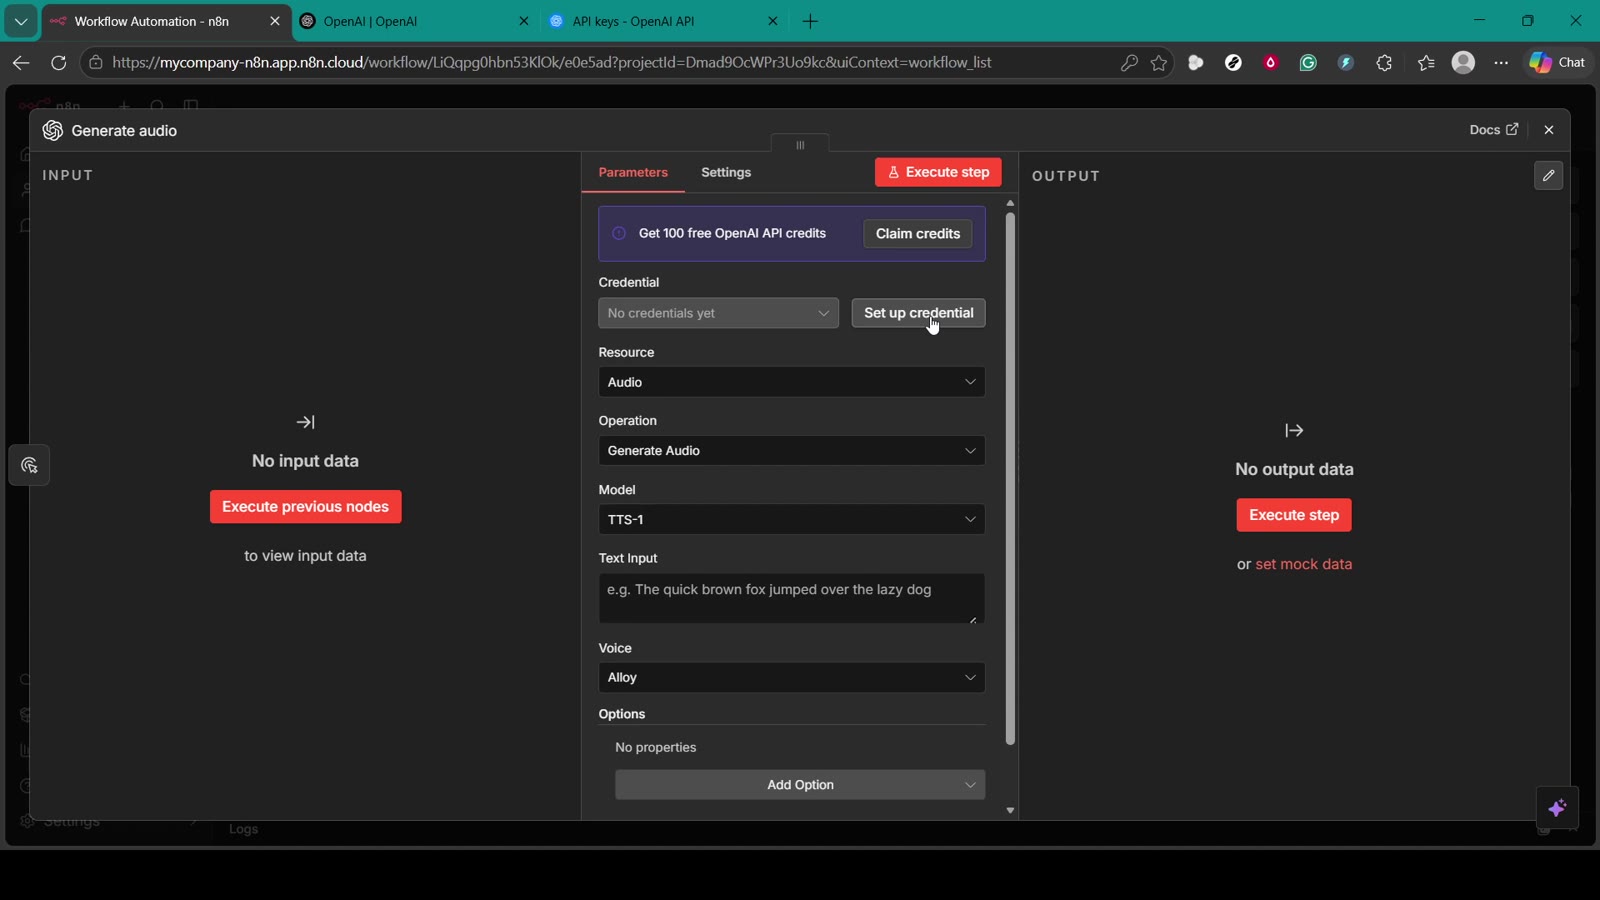
Step 4: Open the OpenAI Node Credentials
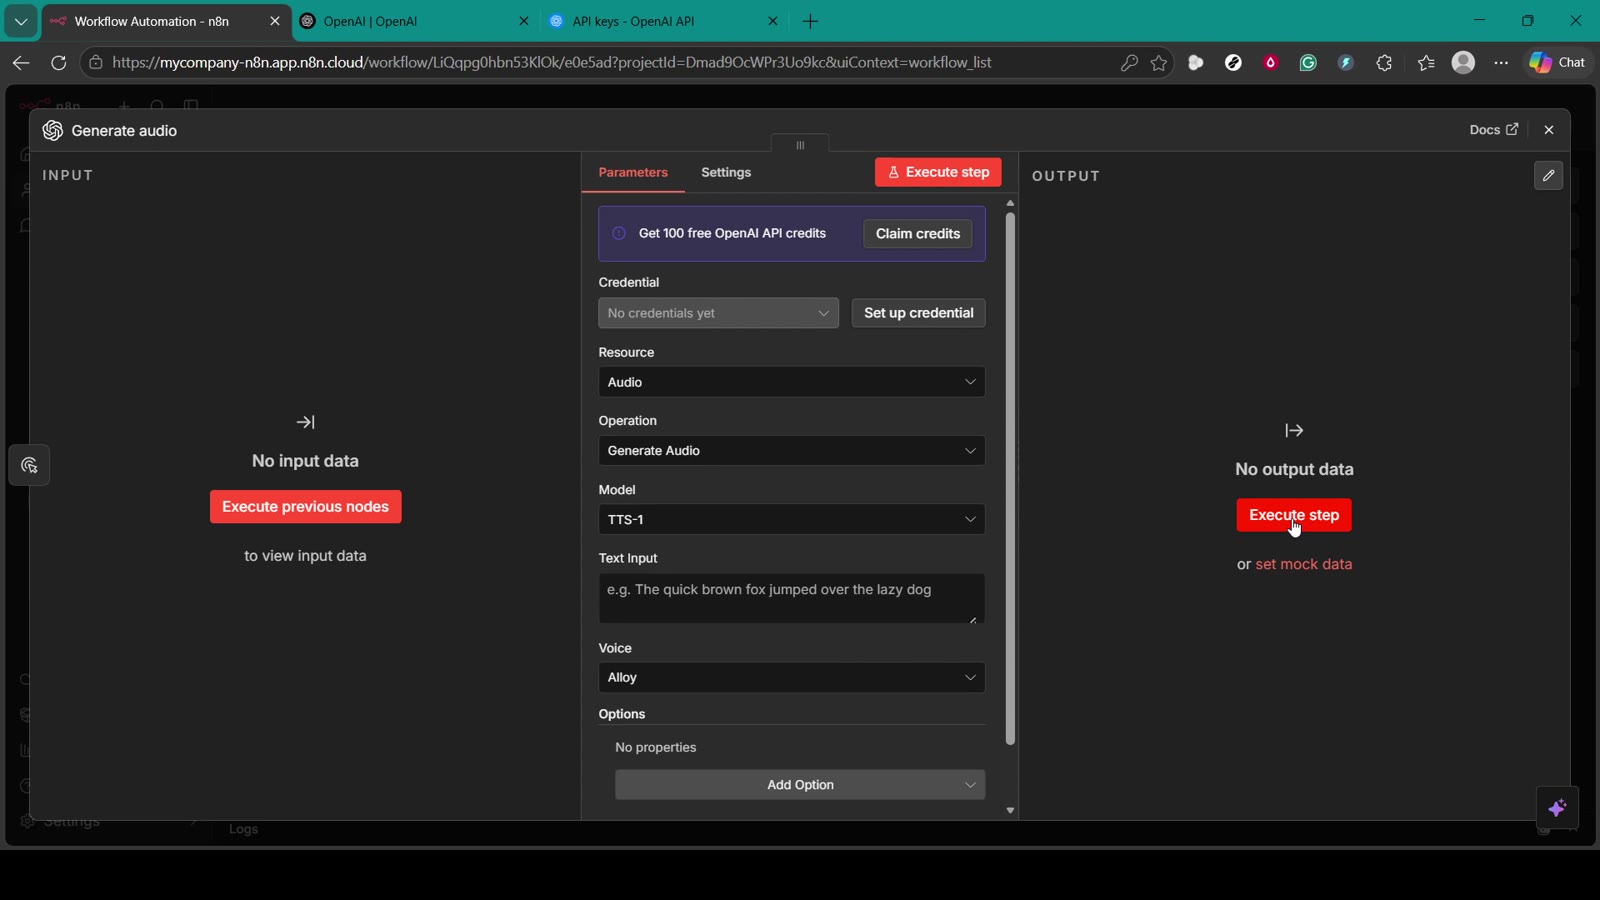
After adding the OpenAI node, open its parameters. Near the top, you should see a Credential section. If you have not connected OpenAI before, n8n will show that no credentials exist yet.
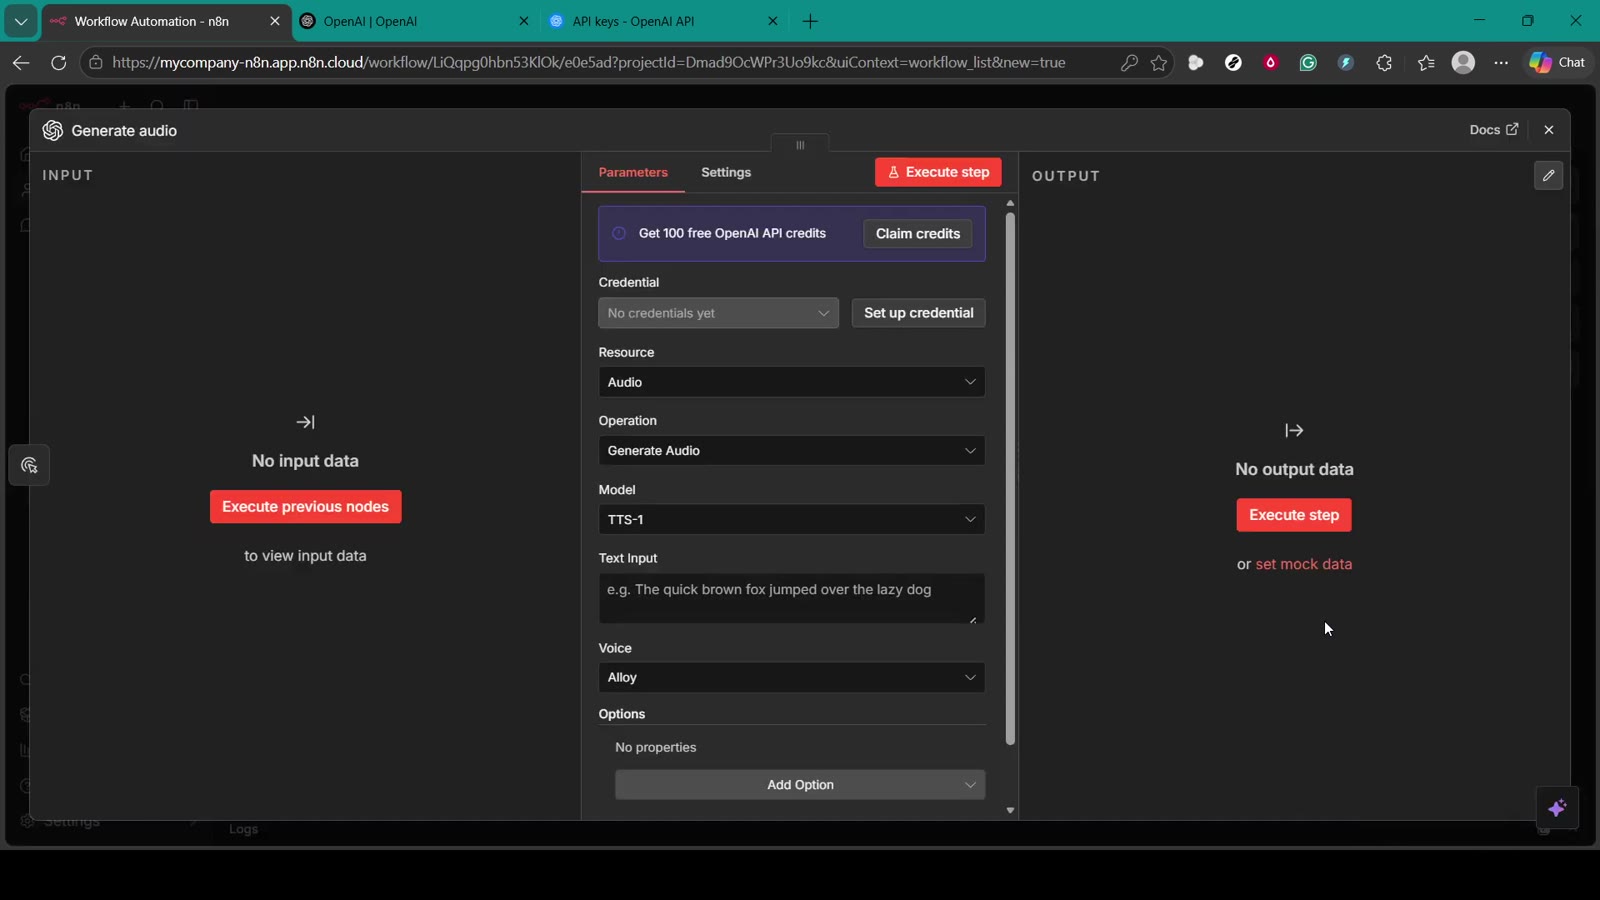
Click Set up credential. This opens the OpenAI account credential panel where n8n expects your API key.
Step 5: Create an OpenAI Secret Key
Open a new browser tab and go to the OpenAI Platform API keys page. Official OpenAI guidance says new secret keys are created from the API Keys page, and each key can have permissions such as All, Restricted, or Read Only depending on your needs.
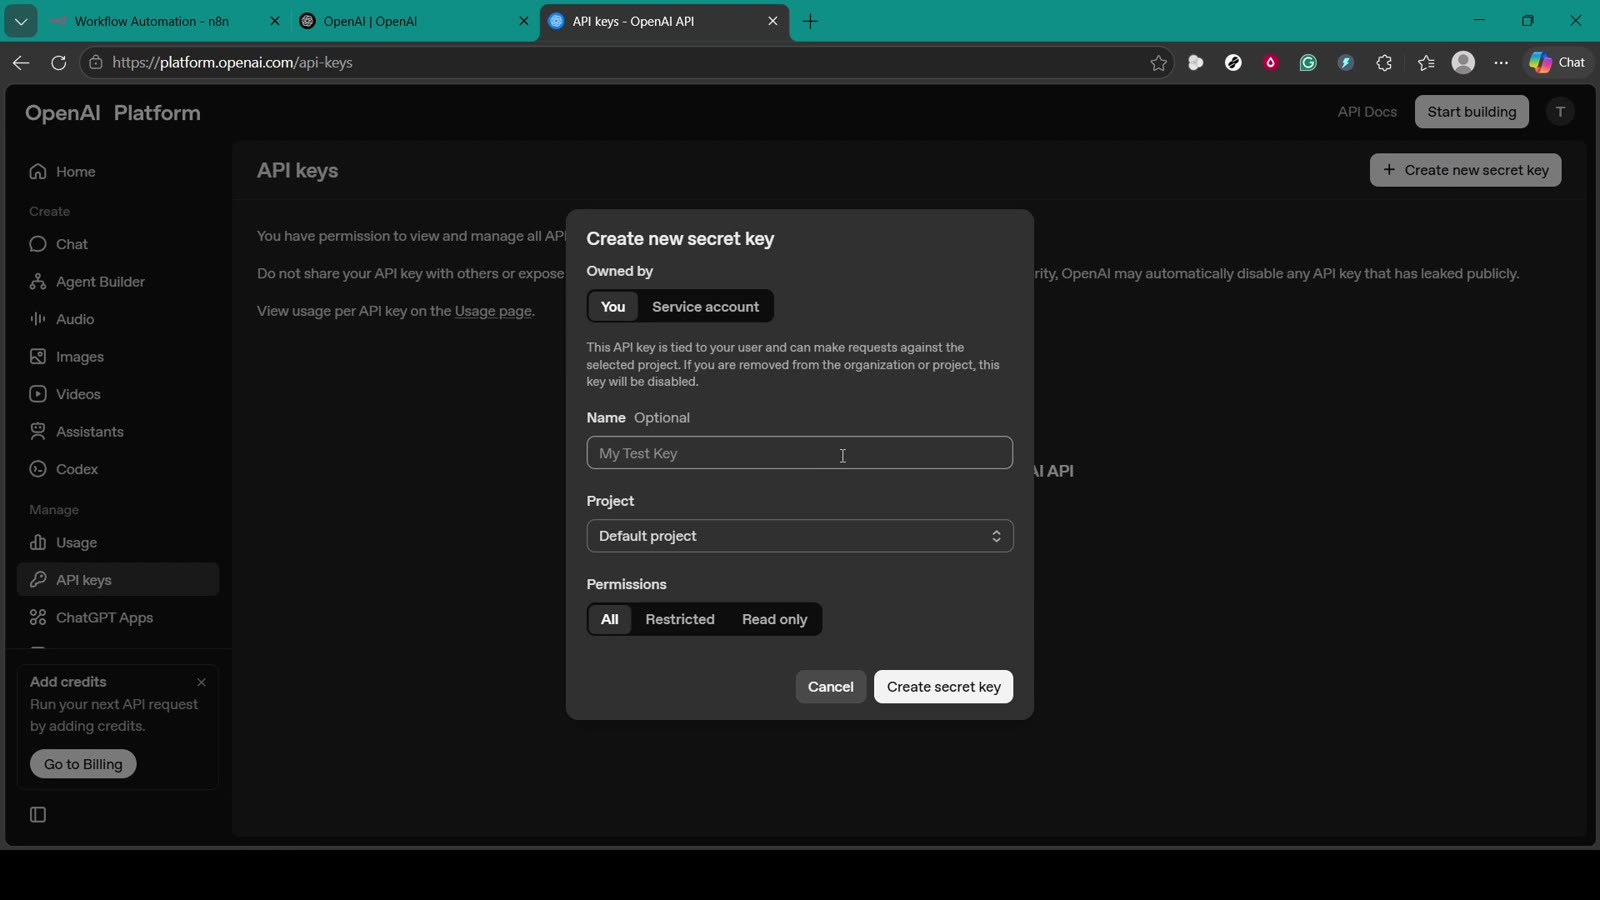
Click Create new secret key. When the dialog opens, give the key a clear label, for example n8n OpenAI Main. If you manage multiple projects, make sure the correct OpenAI project is selected.


Copy the key immediately: API dashboards commonly show a secret key only once. Copy it before closing the dialog, then store it somewhere secure if your workflow documentation requires it.
Step 6: Paste the API Key into n8n
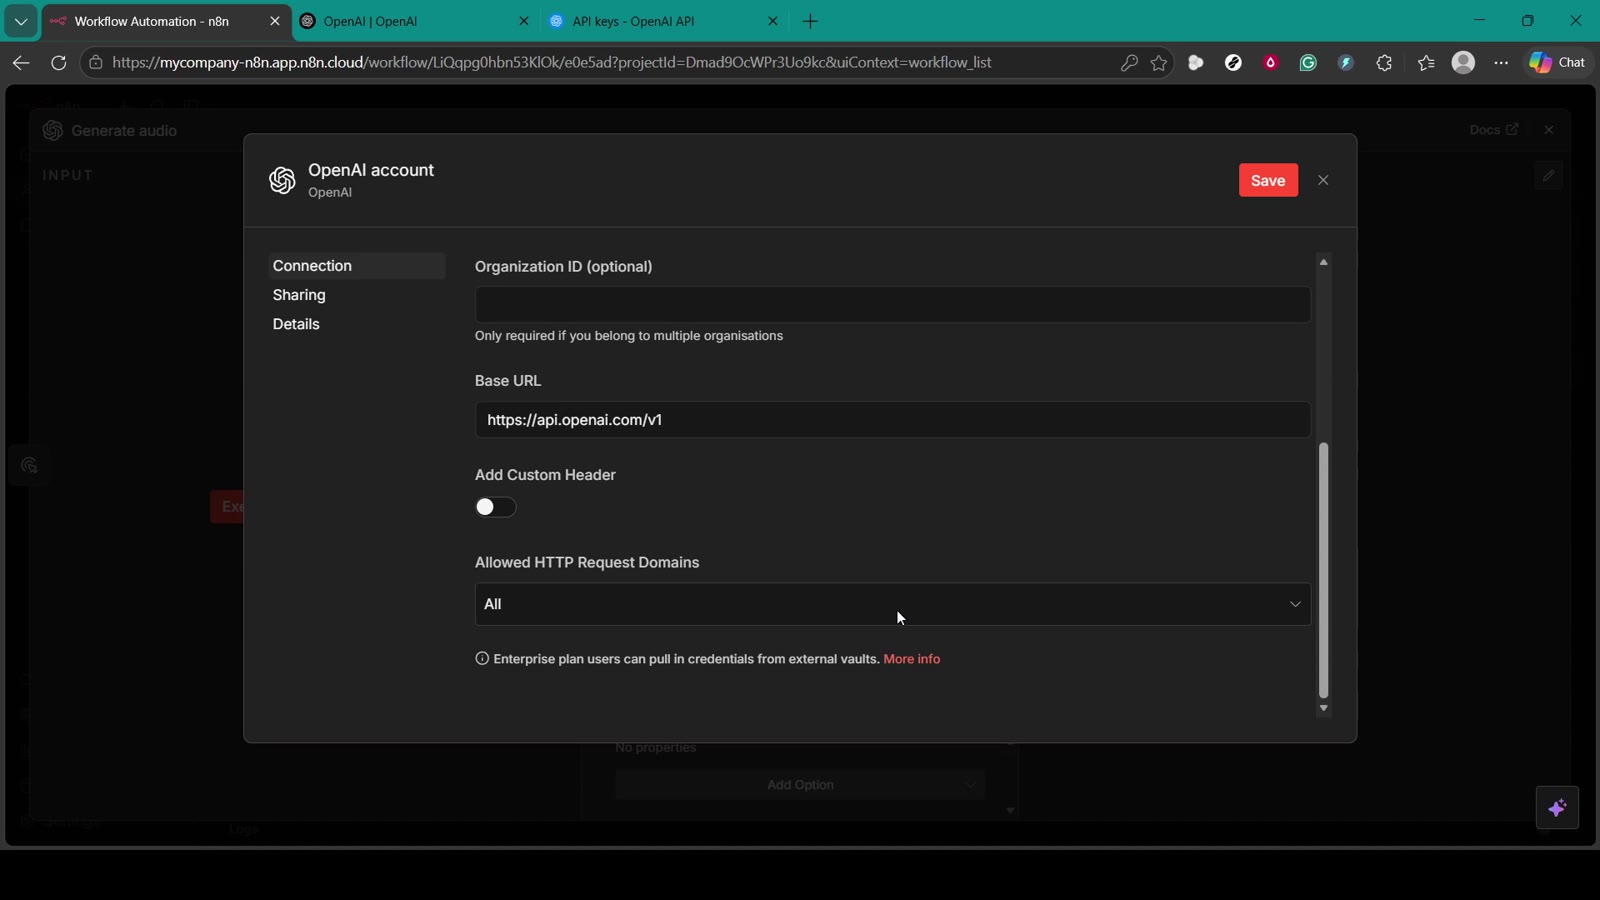
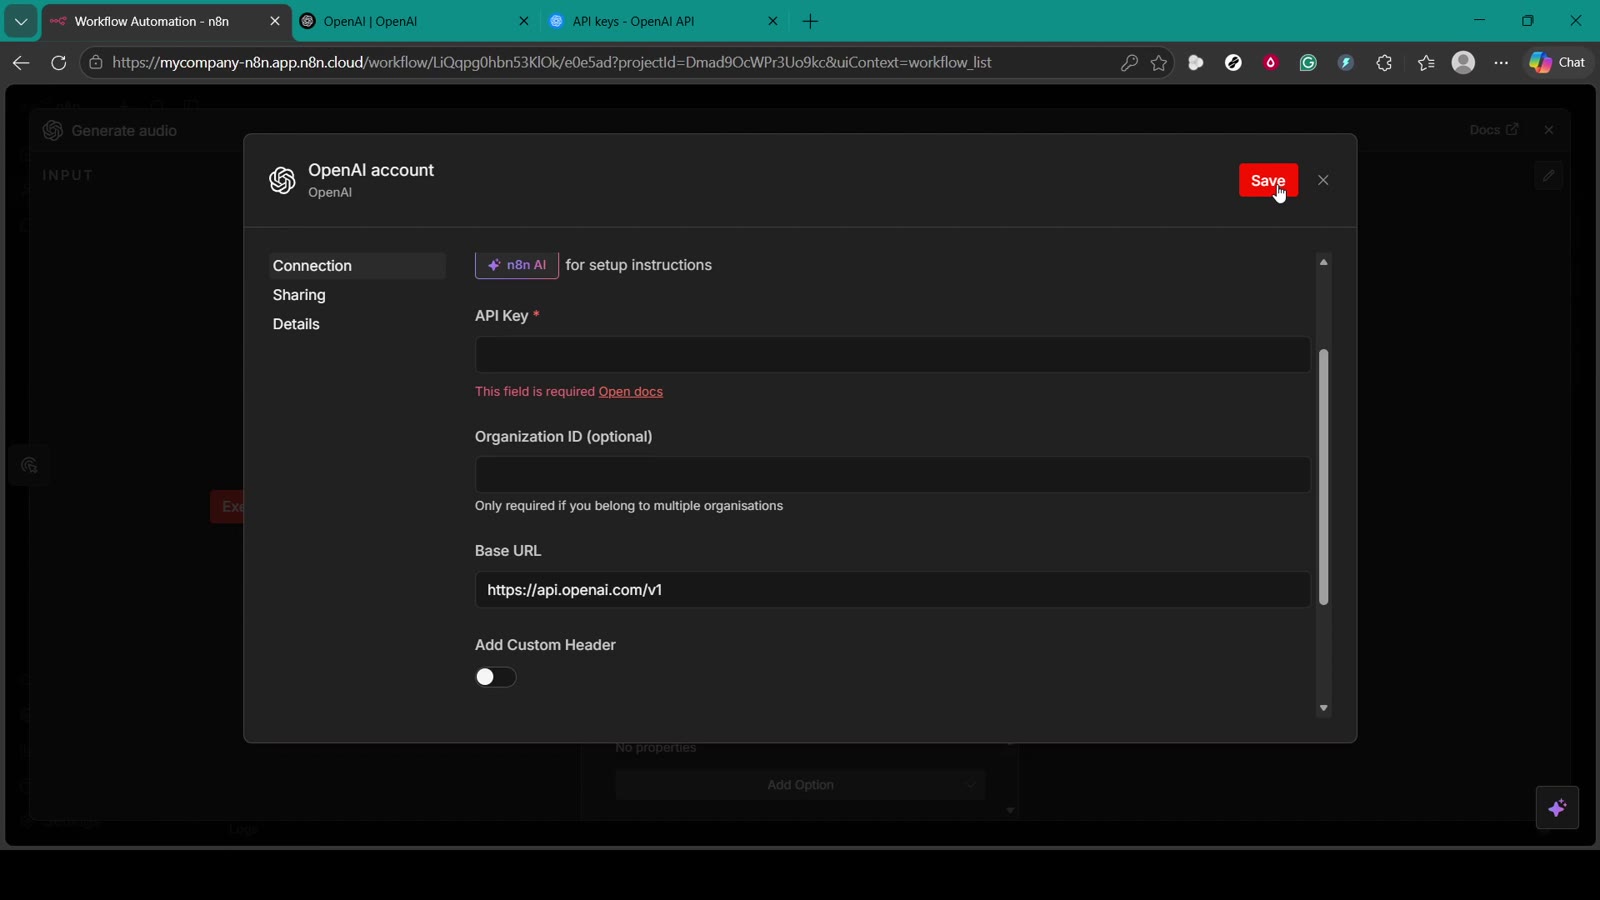
Return to the n8n OpenAI credential panel. Paste the secret key into the API Key field. The default Base URL should normally stay as https://api.openai.com/v1 unless you intentionally use a compatible proxy or custom endpoint.
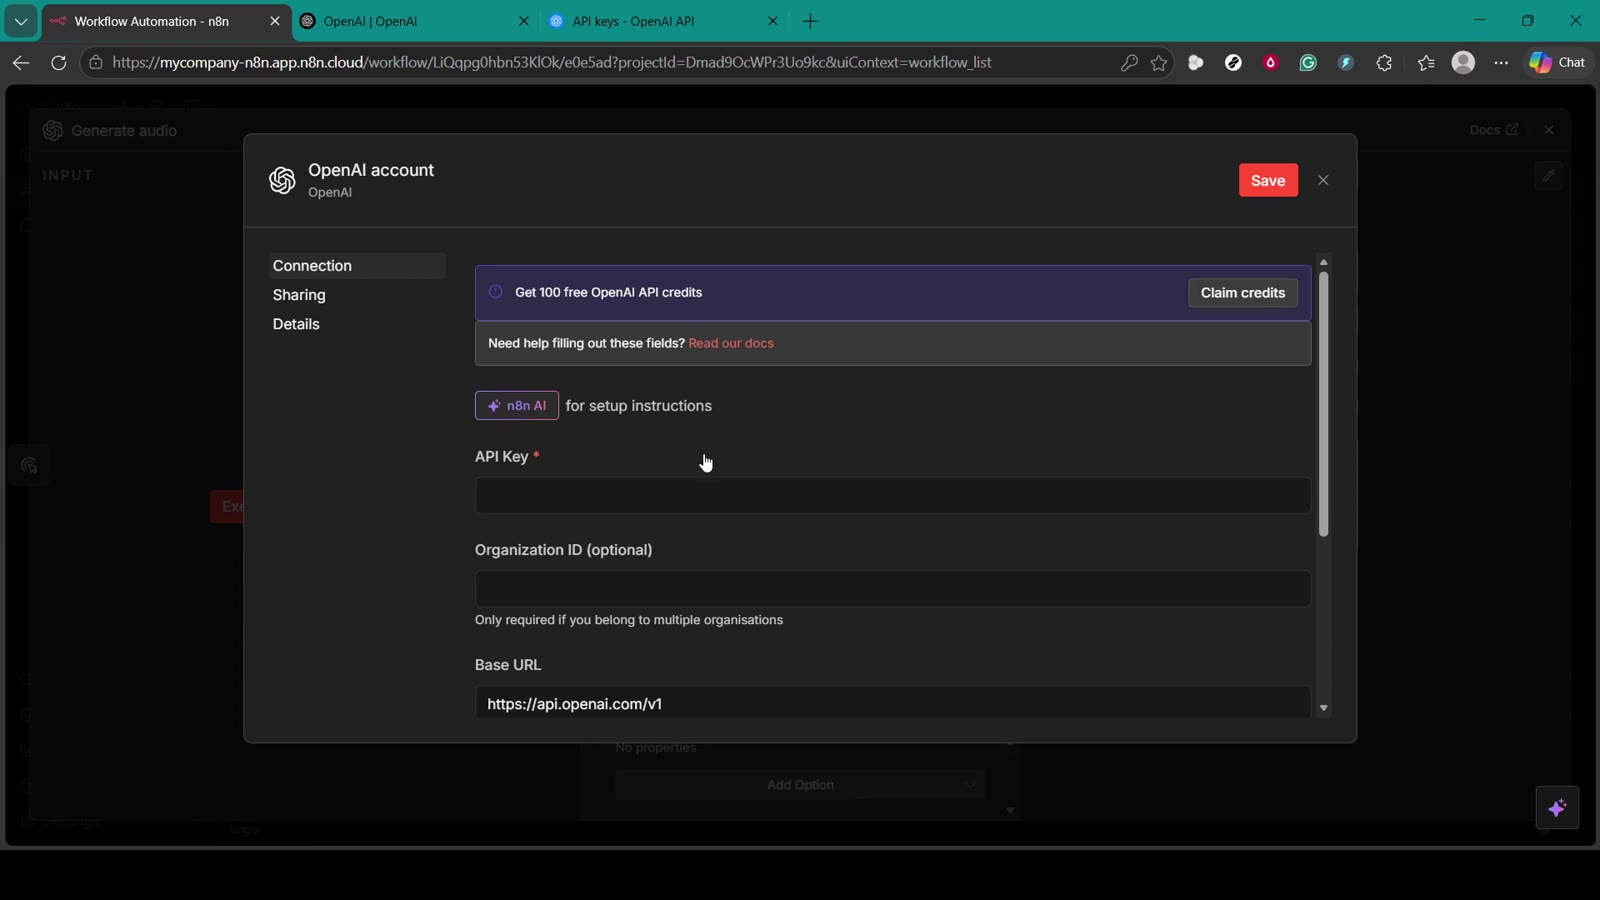
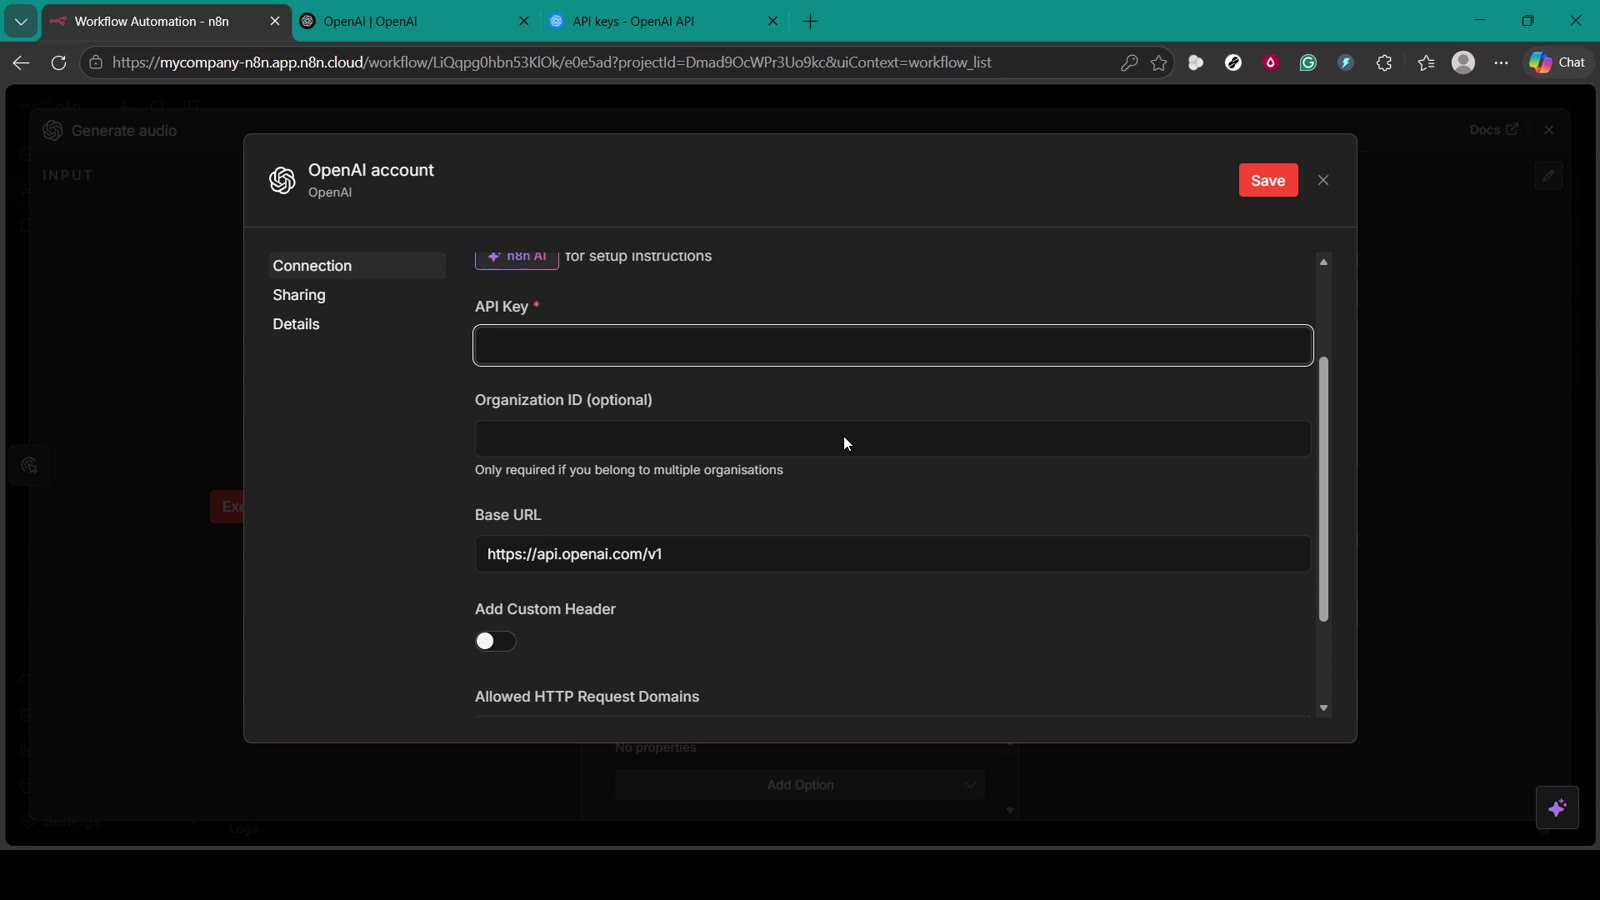
The Organization ID field is optional for many users. Only add it if your OpenAI account setup requires a specific organization value.
If you click Save before entering the key, n8n will show that the API Key field is required. Paste the key first, then save the credential.
Step 7: Select the Credential in the OpenAI Node
Once saved, go back to the OpenAI node and make sure the new credential is selected. If n8n still says no credential exists, reopen the credential dropdown and choose the credential you just created.
Step 8: Add a Small Test Input
The node needs a task to run. Add the minimum input required by your selected operation. For example, if you are testing a text or chat-style operation, use a simple prompt such as Write one sentence explaining what n8n does.

Step 9: Execute the Node
Click Execute step or Execute node. If the setup is correct, n8n should return data in the output panel. If the credential is missing or invalid, n8n will show an error that you can use for troubleshooting.
Troubleshooting
- If n8n says the API Key field is required, the key was not pasted before saving.
- If the node returns an authentication error, copy a fresh key from the OpenAI Platform and paste it again without leading or trailing spaces.
- If you use multiple OpenAI projects, confirm the key belongs to the project with API access and billing configured.
- If you use restricted key permissions, make sure the key has permission for the endpoint or model feature your n8n node is calling.
- If the node executes but returns no useful output, check that the selected operation has a prompt, text input, model, and other required fields.
- If you exposed the key accidentally, revoke it and create a new one before running more automations.
Best Practices for OpenAI API Keys in n8n
- Use a dedicated key for n8n instead of reusing one key everywhere.
- Name the key clearly so you can identify it later in the OpenAI Platform.
- Use restricted permissions when possible, especially for production workflows.
- Rotate keys periodically and remove keys you no longer use.
- Never publish screenshots that show the full key.
- Limit who can edit credentials inside your n8n workspace.
Official OpenAI References
For current OpenAI guidance, review OpenAI API authentication, API key permissions, and API key safety best practices.
That is the full setup: create the OpenAI key, paste it into n8n’s OpenAI credential, save it, select it in the node, and run a small test before building larger automations.

Olaitan Oladipo holds a BSc in Sociology from Olabisi Onabanjo University. He is a self-taught automation builder who has spent years inside n8n doing the work that most tutorials skip: debugging OAuth errors at 2am, migrating client automations from Make.com mid-project, fighting reverse proxy misconfigurations on AWS EC2, and figuring out through trial and error what actually holds up in production versus what only looks clean in a demo.
He is not a developer by training and not a SaaS founder. He is the person in the Discord server who actually answers the question instead of linking to the docs.
His writing on n8n Automation Tutorial covers self-hosting, AI agent workflows, tool comparisons, and the security vulnerabilities the automation industry would rather not discuss. He has built AI-assisted invoice approval flows using OpenAI function calling, connected Claude via HTTP Request nodes, and holds considered opinions about Zapier, Make.com, LangChain, and CrewAI that their marketing teams would not appreciate.
He writes for people who are technical enough to follow a tutorial but experienced enough to want the honest version.